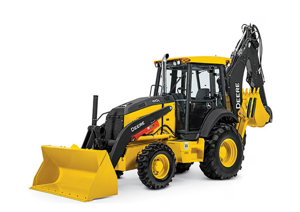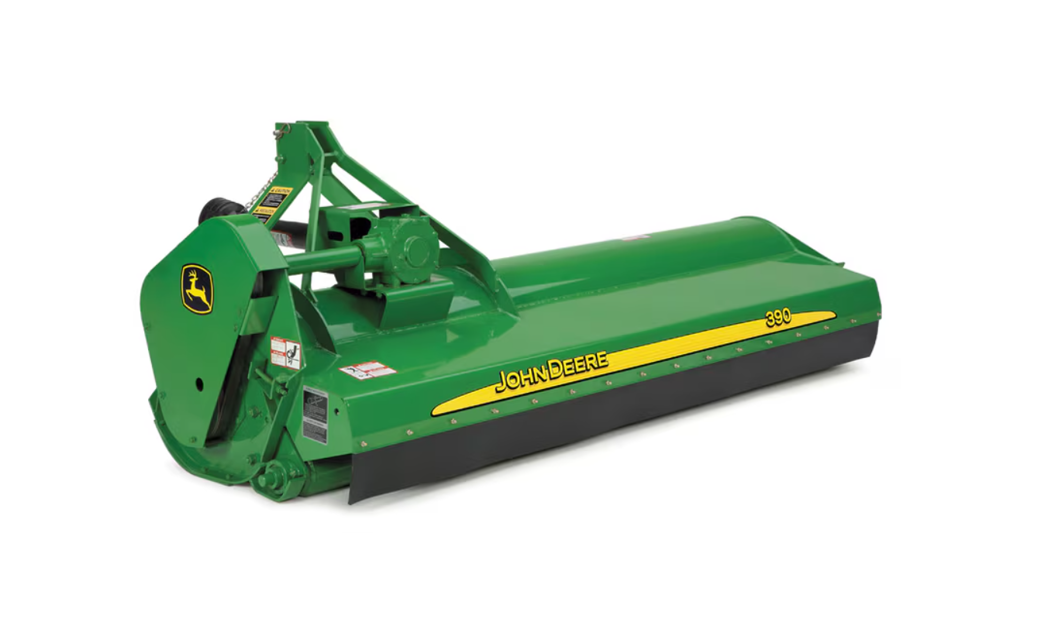

The John Deere Heavy-Duty Flail Mower 390 is designed for robust performance in demanding environments. This versatile mower efficiently handles tough vegetation, ensuring a clean cut and optimal productivity for agricultural and landscaping applications. Experience reliability and durability with this top-tier equipment from John Deere.
Turn manuals into instant answers
with your AI-powered assistantTurn manuals into instant answers
with your AI-powered assistant
Manual for John Deere Heavy-Duty Flail Mower 390
Complete asset maintenance, one click away
Get instant access to all the maintenance information you need. Empower technicians to perform preventive maintenance with asset packages, ready to use right out of the box.
Documents & Manuals
Find all the essential guides in one place.
Tensioning Guide
Belt-diagram
C-120 pulleys
+ 13 more
Work Order Templates
Pre-built workflows to keep your asset running smoothly.
Daily Electrical System Inspection
Replace Roller and Pulley
Install Engine B-120
+ 29 more
Procedures
Integrate maintenance plans directly into your work orders.
Motion Industries
Applied Industrial Technologies
Electrical Brothers
+ 5 more
Parts
Access the parts list for your equipment in MaintainX.
Drive Motor
B2 Rollers
Tensioning System
+ 40 more

John Deere Heavy-Duty Flail Mower 390
Create an account to install this asset package.
Maintenance Plans for John Deere Heavy-Duty Flail Mower Model 390
Integrate maintenance plans directly into your work orders in MaintainX.
Mower to Tractor with Three-Point Hitch Maintenance
Place draft control lever fully forward to the position marked "OFF" (A) for no draft sensing
Extend tractor telescoping draft link ends (if equipped)
Back up the tractor to mower with hitch points approximately in alignment
Engage tractor park brake and/or place transmission in "Park"
Shut off engine and remove ignition key
Remove center link mounting hardware and hitch pin assemblies at both hitch masts
Align draft links with hitch masts and install hitch pin assemblies according to the tractor hitch category. (See POSITIONING HITCH PINS in Preparing the Mower section)
Start tractor engine
Carefully back up tractor making sure both left and right draft link ends lock
Knife Fasteners Inspection
Visible deformation found on fasteners
Lock nuts have lost their locking ability
Wear on rings or mounting clips is excessive
Enter the diameter of the bolt
If any of the above checks fail, replace the fasteners
Sign off on the knife fasteners inspection
8 Hourly Maintenance
Check Gear Case Oil Level
Keeping Mower Clean (Every 10 Hour or Daily)
Drive Pulley Bearing and Gauge Roller Bearings (Every 50 Hour)
Cutting Height Maintenance
Warning: Ensure the mower is turned off before starting the procedure
Is the mower turned off?
If the mower is not turned off, turn it off and then proceed
Is the top bolt (B) removed from each end of the roller mounting?
Is the lower bolt (C) in each end loosened?
Enter the desired cutting height (in mm)
Is the roller positioned for desired cutting height according to chart?
Sign off on the cutting height maintenance
As Required Maintenance
Driveline Shields Check
Hitch Pin Torque Check
Check hitch pin lock nut (A) on pivot plate periodically to be sure that it is tight.
Tighten to specifications. (See CAP SCREW TORQUE VALUES in Specifications Section)
Sign off on the maintenance
Parts for John Deere Heavy-Duty Flail Mower 390
Access the parts list for your equipment in MaintainX.
Sway Chain
LX001802
Sway Chain
LX001802
Sway Chain
LX001802
Unlock efficiency
with MaintainX CoPilot
MaintainX CoPilot is your expert colleague, on call 24/7, helping your team find the answers they need to keep equipment running.
Reduce Unplanned Downtime
Ensure your team follows consistent procedures to minimize equipment failures and costly delays.
Maximize Asset Availability
Keep your assets running longer and more reliably, with standardized maintenance workflows from OEM manuals.
Lower Maintenance Costs
Turn any technician into an expert to streamline operations, maintain more assets, and reduce overall costs.
Thousands of companies manage their assets with MaintainX


