


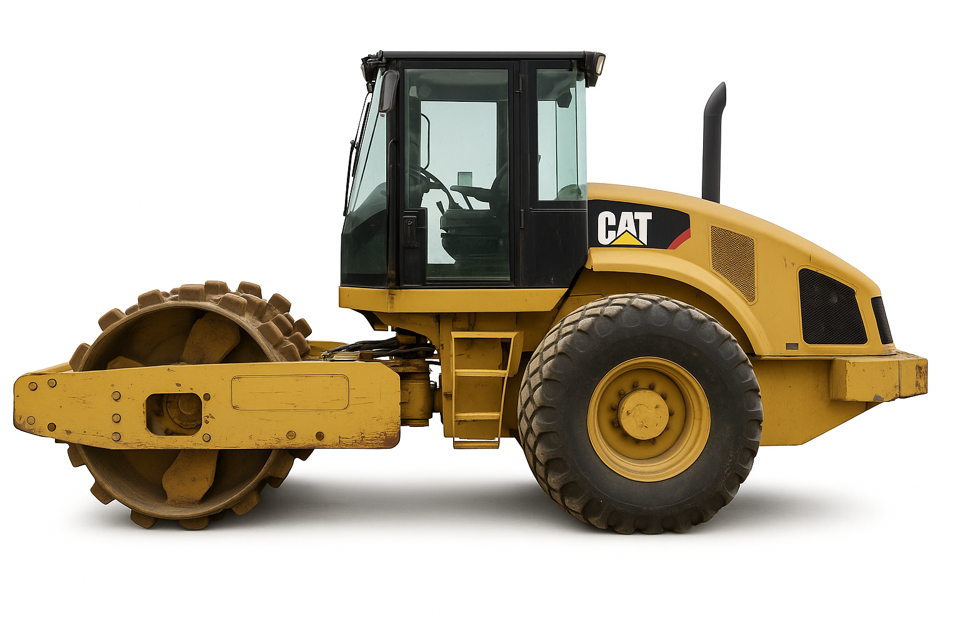
CAT Vibratory Compactor CP-583E
Need answers fast?
Explore the manual using AI.
Turn manuals into instant answers
with your AI-powered assistantTurn manuals into instant answers
with your AI-powered assistant
Complete asset maintenance, one click away
Get instant access to all the maintenance information you need. Empower technicians to perform preventive maintenance with asset packages, ready to use right out of the box.

Documents & Manuals
Find all the essential guides in one place.
 Tensioning Guide
- Belt-diagram
- C-120 pulleys
+ 13 more

Work Order Templates
Pre-built workflows to keep your asset running smoothly.
- Daily Electrical System Inspection
- Replace Roller and Pulley
- Install Engine B-120
+ 29 more

Procedures
Integrate maintenance plans directly into your work orders.
- Motion Industries
- Applied Industrial Technologies
- Electrical Brothers
+ 5 more

Parts
Access the parts list for your equipment in MaintainX.
- Drive Motor
- B2 Rollers
- Tensioning System
+ 40 more
CAT Vibratory Compactor CP-583E
Create an account to install this asset package.
Maintenance Plans for CAT Vibratory Compactor Model CP-583E
Integrate maintenance plans directly into your work orders in MaintainX.
10 Hourly / 1 Daily Seat Belt Inspection
Warning: Always inspect the condition of the seat belt and the condition of the seat belt mounting hardware before you operate the machine.
Inspect buckle for wear or for damage.
Inspect seat belt for webbing that is worn or frayed.
Inspect all seat belt mounting hardware for wear or for damage.
Check if the mounting bolts are tight.
Is your machine equipped with a seat belt extension?
If your machine is equipped with a seat belt extension, also perform this inspection procedure for the seat belt extension.
Contact your Cat dealer for the replacement of the seat belt and the mounting hardware.
Enter the date of installation of the seat belt.

1000 Hourly / 1 Yearly Hydraulic Tank Strainer Cleaning
Warning: Ensure the machine is turned off and cooled down before starting the procedure
Cover on the tank filler neck removed
Hydraulic oil filler cap (1) removed and screen (2) pulled outward
Screen cleaned in clean, nonflammable solvent
Screen dried with compressed air
Screen installed and cap installed
Sign off on the hydraulic tank strainer cleaning
Initial 250 Hours Final Drive Planetary (Axle) Oil Change
Position one final drive so that the oil fill/drain plug is at the bottom
Refer to Operation and Maintenance Manual, “General Hazard Information” for information on Containing Fluid Spillage
Remove the oil fill/drain plug. Allow the oil to drain into a suitable container
Clean the plug and inspect the O-ring seal. If wear or damage is evident, replace the oil fill/drain plug and/or the O-ring seal
Install the oil fill/drain plug
Rotate the final drive so that the oil fill/drain plug is horizontal
Fill the final drive to the bottom of the opening on the oil fill/drain plug. See Operation and Maintenance Manual, “Lubricant Viscosities” and Operation and Maintenance Manual, “Capacities (Refill)”
Install the oil fill/drain plug
Perform Step 1 to Step 7 on the other final drive. Use a different container for the oil so that the oil samples from the final drives will be separate
50 Hourly / 1 Weekly Tire Inflation Pressure Adjustment
Warning: The liquid ballast in tires is an irritant. Protect the eyes and face from the spray that comes out of the valve stem when checking the ballast level in the tires or when checking the tires air pressure.
Failure to protect the eyes and face could result in personal injury.
When you check the tire pressure, move the machine so that the valve stem for the tire is in the twelve o'clock position in order to prevent the liquid ballast from spraying out of the valve stem.
Note: There will be a slight amount of liquid ballast in the valve stem after moving the machine into position. Depress the valve stem in order to allow the liquid ballast to be blown out of the valve stem before attaching the pressure gauge.
Enter the current tire pressure
Select the operating condition
Enter the adjusted tire pressure
Did the tire pressure adjust to the desired level?
Sign off on the tire pressure adjustment
1 Yearly Cooling System Coolant Level 2 Sampling
NOTICE: Always use a designated pump for oil sampling, and use a separate designated pump for coolant sampling. Using the same pump for both types of samples may contaminate the samples that are being drawn. This contaminate may cause a false analysis and an incorrect interpretation that could lead to concerns by both dealers and customers.
Refer to the Operation and Maintenance Manual, “Access Doors and Covers” for the location of the service points.
Obtain the sample of the coolant as close as possible to the recommended sampling interval. Supplies for collecting samples can be obtained from your Caterpillar dealer.
Refer to Operation and Maintenance Manual, “Cooling System Coolant Sample (Level 1) - Obtain” for the guidelines for proper sampling of the coolant.
Submit the sample for Level 2 analysis.
For additional information about coolant analysis, see Special Publication, SEBU6250, “Caterpillar Machine Fluids Recommendations” or consult your Caterpillar dealer.
Upload a photo of the coolant sample
Sign off on the coolant sampling
Unlock efficiency
with MaintainX CoPilot
MaintainX CoPilot is your expert colleague, on call 24/7, helping your team find the answers they need to keep equipment running.
Reduce Unplanned Downtime
Ensure your team follows consistent procedures to minimize equipment failures and costly delays.
Maximize Asset Availability
Keep your assets running longer and more reliably, with standardized maintenance workflows from OEM manuals.
Lower Maintenance Costs
Turn any technician into an expert to streamline operations, maintain more assets, and reduce overall costs.
Thousands of companies manage their assets with MaintainX

'%3e%3cpath%20fill='url(%23b)'%20d='M66.008%2080.068c-5.084-.786-9.763-3.834-12.442-8.68a16.942%2016.942%200%200%201-1.87-5.18c1.096.19%202.203.476%203.298.87%206.525%202.333%2010.836%207.68%2011.014%2012.99ZM51.47%2061.576c.488-5.524%203.62-10.716%208.847-13.597a17.132%2017.132%200%200%201%2011.335-1.882c-.798%208.145-7.43%2014.848-16.038%2015.599-1.417.119-2.799.07-4.144-.12Zm28.564-11.478a17.513%2017.513%200%200%201%203.727%204.62c4.608%208.335%201.584%2018.813-6.75%2023.409a16.988%2016.988%200%200%201-4.359%201.679%2019.624%2019.624%200%200%201-3.977-12.776c.346-7.561%204.942-13.931%2011.36-16.932Z'/%3e%3cpath%20fill='%23110F0D'%20fill-rule='evenodd'%20d='M142.831%2048.324h4.977V77.03h-4.977V48.324Zm27.278%2013.002c.322%201.048.453%202.263.453%203.62v12.073h-4.787V66.208c0-.75-.047-1.572-.154-2.143-.453-2.382-1.822-3.572-4.215-3.572-2.31%200-3.882%201.274-4.43%203.476-.143.596-.226%201.405-.226%202.25v10.8h-4.787V56.623h4.477v2.989c1.536-2.5%203.906-3.43%206.371-3.43%203.488%200%206.263%201.68%207.298%205.144Zm24.636%207.323c0%203.882-2.358%206.525-5.763%207.727-1.298.453-2.632.643-4.62.643h-10.169V48.324h9.085c1.691%200%203.156.143%204.049.38%203.465.93%205.727%203.68%205.727%207.335%200%202.441-.81%204.156-2.762%205.644%202.905%201.417%204.453%203.727%204.453%206.966Zm-15.634-8.656h4.584c1.024%200%201.917-.143%202.536-.417%201.215-.548%201.905-1.608%201.905-3.167%200-1.548-.643-2.572-1.845-3.132-.691-.31-1.762-.452-2.763-.452h-4.417v7.168Zm10.716%208.465c0-1.536-.893-3.37-3.227-3.893-.428-.095-1.036-.143-1.571-.143h-5.918v8.085h5.501c.56%200%201.429-.048%201.953-.167%201.94-.453%203.262-1.846%203.262-3.882Zm47.747-11.847-8.097%2020.408h-4.429l-8.109-20.408h5.191l5.192%2014.574%205.108-14.574h5.144Zm-20.218%2010.002c0%20.69-.036%201.262-.155%201.94h-15.943c.631%202.87%202.714%204.728%205.882%204.728%202.131%200%203.607-.882%204.703-2.525h4.87c-1.762%204.144-5.204%206.692-9.657%206.692-6.084%200-10.537-4.858-10.537-10.49%200-6.108%204.524-10.776%2010.335-10.776%206.239%200%2010.442%204.954%2010.502%2010.43Zm-4.763-1.405c-.333-2.846-2.643-4.858-5.691-4.858-2.894%200-5.287%201.929-5.621%204.858h11.312Zm-72.667%203.44c0%204.787-3.287%208.371-9.419%208.371H119.363V64.66c-1.917.274-3.87.69-5.811%201.238l4.537%2011.121h-5.418l-3.596-9.585c-5.144%202.084-10.085%205.216-14.217%209.585h-4.786L101.8%2048.312h4.56l5.68%2013.883a44.112%2044.112%200%200%201%207.323-1.774V48.312h9.084c1.703%200%203.156.143%204.061.393%203.453.929%205.727%203.667%205.727%207.323%200%201.917-.738%204.179-2.81%205.691%203.06%201.56%204.501%204.025%204.501%206.93Zm-15.634-8.667a62.664%2062.664%200%200%201%202.06-.036c1.703.012%203.239.131%204.608.37%201.441-.549%202.357-1.727%202.357-3.537%200-1.941-.881-3.144-2.488-3.667-.548-.18-1.358-.286-2.322-.286h-4.215v7.156Zm-16.55%203.905-3.715-9.894-6.394%2016.502c2.833-2.595%206.263-4.858%2010.109-6.608Zm27.254%204.74c0-2.775-3.131-4.347-8.513-4.418-.715%200-1.441.011-2.191.047v8.252h5.918c2.548%200%204.786-1.37%204.786-3.882Z'%20clip-rule='evenodd'/%3e%3c/g%3e%3cdefs%3e%3clinearGradient%20id='b'%20x1='51.47'%20x2='85.916'%20y1='62.946'%20y2='62.946'%20gradientUnits='userSpaceOnUse'%3e%3cstop%20stop-color='%23CD9F28'/%3e%3cstop%20offset='1'%20stop-color='%23ECD80B'/%3e%3c/linearGradient%3e%3cclipPath%20id='a'%3e%3cpath%20fill='%23fff'%20d='M51.47%2045.728h186.104V80.14H51.47z'/%3e%3c/clipPath%3e%3c/defs%3e%3c/svg%3e)


More from CAT


Explore Other Assets


© 2026 MaintainX. All rights reserved.