


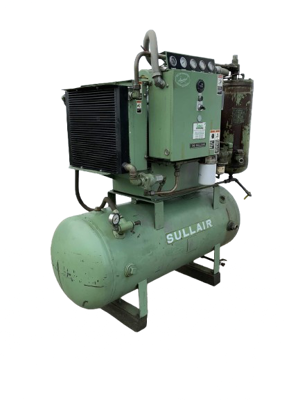
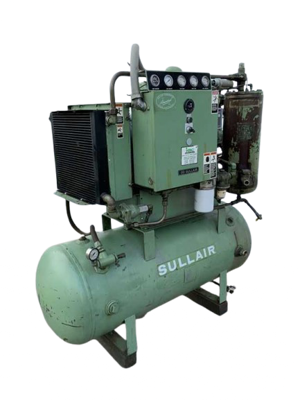
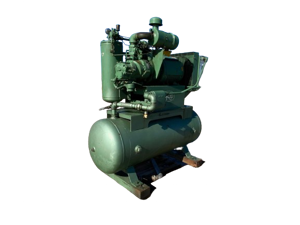
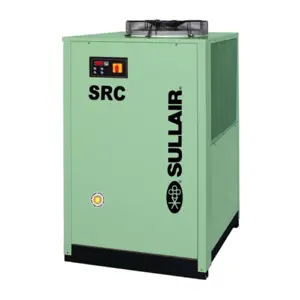
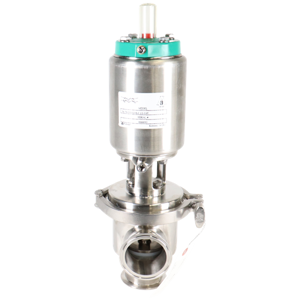
Sullair Industrial Air Compressor SN55V
Need answers fast?
Explore the manual using AI.
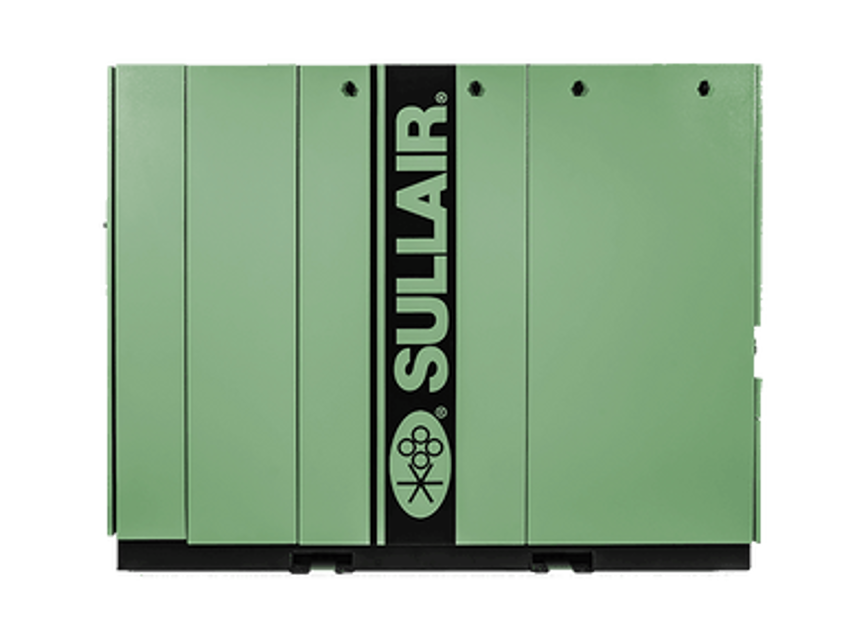
The Sullair Industrial Air Compressor SN55V is a robust and reliable solution for various industrial applications. Known for its efficiency and durability, this model ensures optimal performance and minimal downtime, making it an essential asset for any manufacturing environment.
Turn manuals into instant answers
with your AI-powered assistantTurn manuals into instant answers
with your AI-powered assistant
Complete asset maintenance, one click away
Get instant access to all the maintenance information you need. Empower technicians to perform preventive maintenance with asset packages, ready to use right out of the box.

Documents & Manuals
Find all the essential guides in one place.
 Tensioning Guide
- Belt-diagram
- C-120 pulleys
+ 13 more

Work Order Templates
Pre-built workflows to keep your asset running smoothly.
- Daily Electrical System Inspection
- Replace Roller and Pulley
- Install Engine B-120
+ 29 more

Procedures
Integrate maintenance plans directly into your work orders.
- Motion Industries
- Applied Industrial Technologies
- Electrical Brothers
+ 5 more

Parts
Access the parts list for your equipment in MaintainX.
- Drive Motor
- B2 Rollers
- Tensioning System
+ 40 more
Sullair Industrial Air Compressor SN55V
Create an account to install this asset package.
Maintenance Plans for Sullair Industrial Air Compressor Model SN55V
Integrate maintenance plans directly into your work orders in MaintainX.
Filter Maintenance
Replace your fluid filter element under any of the following conditions, whichever occurs first:
• As indicated by the STS Controller.
• Every fluid change.
1) Fluid filter element replacement
1. Using a wrench, remove the filter canister.
2. Remove and dispose of filter element. Observe all laws and regulations for filter disposal.
3. Clean gasket seating surface.
4. Apply a light film of fluid to the element seal.
5. Install the element into the filter canister.

Shaft Coupling Maintenance
Warning: This maintenance check requires trained personnel with PPE!
Protective grill removed from the adapter housing
Retaining screw located on the outer sleeve loosened
Sleeve slid to one side, exposing the coupling element
Coupling element unwrapped from the coupling jaws
New element installed by wrapping it around the jaws, engaging the cogs on the element into the jaws
Outer sleeve and the protective grill reinstalled
Enter the torque applied to the screws (in N·m)
Sign off on the shaft coupling maintenance
1 Yearly Air Filter Element Replacement
Is the maintenance gauge showing red with the compressor running full load?
Has it been a year since the last air filter maintenance?
If either of the above checks is true, proceed with the following steps.
Clean the air filter’s exterior housing.
Release the hold-down clips and remove the end cover.
Remove the air filter element by pulling it out of the housing.
Clean the housing interior with a damp cloth. Do not blow dirt out with compressed air.
Replace the element.
Reassemble in the reverse order.
1 Daily Oil Return/Sight Glass Maintenance
Warning: This maintenance check requires trained personnel with PPE!
Disconnect the tube at bottom of sight glass
Unscrew the sight glass assembly where the elbow fitting joins the strainer/filter
Remove used filter assembly, and replace with new assembly
Inspect and clean the orifice inside the sight glass blocks. The orifice must be removed with an allen wrench
Coat/lubricate the O-rings with silicone grease
Reattach the connectors to the sight glass/orifice blocks
Sign off on the oil return/sight glass maintenance
2000 Hourly / 6 Monthly Air Compressor Maintenance
Warning: This maintenance check requires trained personnel with PPE!
Clean the return line strainer
Replace the fluid filter element
Pull oil sample for analysis
Check air filter. Change if necessary
Sign off on the air compressor maintenance
Parts for Sullair Industrial Air Compressor SN55V
Access the parts list for your equipment in MaintainX.
Air Filter Assembly
02250214-305
Separator Element
02250214-961
Replacement Air Filter Element Kit
02250215-315
Fluid Filter Assembly
02250197-189
Separator Element Replacement Kit
02250218-061
Air Filter Assembly
02250214-305
Separator Element
02250214-961
Replacement Air Filter Element Kit
02250215-315
Fluid Filter Assembly
02250197-189
Separator Element Replacement Kit
02250218-061
Air Filter Assembly
02250214-305
Separator Element
02250214-961
Replacement Air Filter Element Kit
02250215-315
Fluid Filter Assembly
02250197-189
Separator Element Replacement Kit
02250218-061
Unlock efficiency
with MaintainX CoPilot
MaintainX CoPilot is your expert colleague, on call 24/7, helping your team find the answers they need to keep equipment running.
Reduce Unplanned Downtime
Ensure your team follows consistent procedures to minimize equipment failures and costly delays.
Maximize Asset Availability
Keep your assets running longer and more reliably, with standardized maintenance workflows from OEM manuals.
Lower Maintenance Costs
Turn any technician into an expert to streamline operations, maintain more assets, and reduce overall costs.
Thousands of companies manage their assets with MaintainX

'%3e%3cpath%20fill='url(%23b)'%20d='M66.008%2080.068c-5.084-.786-9.763-3.834-12.442-8.68a16.942%2016.942%200%200%201-1.87-5.18c1.096.19%202.203.476%203.298.87%206.525%202.333%2010.836%207.68%2011.014%2012.99ZM51.47%2061.576c.488-5.524%203.62-10.716%208.847-13.597a17.132%2017.132%200%200%201%2011.335-1.882c-.798%208.145-7.43%2014.848-16.038%2015.599-1.417.119-2.799.07-4.144-.12Zm28.564-11.478a17.513%2017.513%200%200%201%203.727%204.62c4.608%208.335%201.584%2018.813-6.75%2023.409a16.988%2016.988%200%200%201-4.359%201.679%2019.624%2019.624%200%200%201-3.977-12.776c.346-7.561%204.942-13.931%2011.36-16.932Z'/%3e%3cpath%20fill='%23110F0D'%20fill-rule='evenodd'%20d='M142.831%2048.324h4.977V77.03h-4.977V48.324Zm27.278%2013.002c.322%201.048.453%202.263.453%203.62v12.073h-4.787V66.208c0-.75-.047-1.572-.154-2.143-.453-2.382-1.822-3.572-4.215-3.572-2.31%200-3.882%201.274-4.43%203.476-.143.596-.226%201.405-.226%202.25v10.8h-4.787V56.623h4.477v2.989c1.536-2.5%203.906-3.43%206.371-3.43%203.488%200%206.263%201.68%207.298%205.144Zm24.636%207.323c0%203.882-2.358%206.525-5.763%207.727-1.298.453-2.632.643-4.62.643h-10.169V48.324h9.085c1.691%200%203.156.143%204.049.38%203.465.93%205.727%203.68%205.727%207.335%200%202.441-.81%204.156-2.762%205.644%202.905%201.417%204.453%203.727%204.453%206.966Zm-15.634-8.656h4.584c1.024%200%201.917-.143%202.536-.417%201.215-.548%201.905-1.608%201.905-3.167%200-1.548-.643-2.572-1.845-3.132-.691-.31-1.762-.452-2.763-.452h-4.417v7.168Zm10.716%208.465c0-1.536-.893-3.37-3.227-3.893-.428-.095-1.036-.143-1.571-.143h-5.918v8.085h5.501c.56%200%201.429-.048%201.953-.167%201.94-.453%203.262-1.846%203.262-3.882Zm47.747-11.847-8.097%2020.408h-4.429l-8.109-20.408h5.191l5.192%2014.574%205.108-14.574h5.144Zm-20.218%2010.002c0%20.69-.036%201.262-.155%201.94h-15.943c.631%202.87%202.714%204.728%205.882%204.728%202.131%200%203.607-.882%204.703-2.525h4.87c-1.762%204.144-5.204%206.692-9.657%206.692-6.084%200-10.537-4.858-10.537-10.49%200-6.108%204.524-10.776%2010.335-10.776%206.239%200%2010.442%204.954%2010.502%2010.43Zm-4.763-1.405c-.333-2.846-2.643-4.858-5.691-4.858-2.894%200-5.287%201.929-5.621%204.858h11.312Zm-72.667%203.44c0%204.787-3.287%208.371-9.419%208.371H119.363V64.66c-1.917.274-3.87.69-5.811%201.238l4.537%2011.121h-5.418l-3.596-9.585c-5.144%202.084-10.085%205.216-14.217%209.585h-4.786L101.8%2048.312h4.56l5.68%2013.883a44.112%2044.112%200%200%201%207.323-1.774V48.312h9.084c1.703%200%203.156.143%204.061.393%203.453.929%205.727%203.667%205.727%207.323%200%201.917-.738%204.179-2.81%205.691%203.06%201.56%204.501%204.025%204.501%206.93Zm-15.634-8.667a62.664%2062.664%200%200%201%202.06-.036c1.703.012%203.239.131%204.608.37%201.441-.549%202.357-1.727%202.357-3.537%200-1.941-.881-3.144-2.488-3.667-.548-.18-1.358-.286-2.322-.286h-4.215v7.156Zm-16.55%203.905-3.715-9.894-6.394%2016.502c2.833-2.595%206.263-4.858%2010.109-6.608Zm27.254%204.74c0-2.775-3.131-4.347-8.513-4.418-.715%200-1.441.011-2.191.047v8.252h5.918c2.548%200%204.786-1.37%204.786-3.882Z'%20clip-rule='evenodd'/%3e%3c/g%3e%3cdefs%3e%3clinearGradient%20id='b'%20x1='51.47'%20x2='85.916'%20y1='62.946'%20y2='62.946'%20gradientUnits='userSpaceOnUse'%3e%3cstop%20stop-color='%23CD9F28'/%3e%3cstop%20offset='1'%20stop-color='%23ECD80B'/%3e%3c/linearGradient%3e%3cclipPath%20id='a'%3e%3cpath%20fill='%23fff'%20d='M51.47%2045.728h186.104V80.14H51.47z'/%3e%3c/clipPath%3e%3c/defs%3e%3c/svg%3e)


More from Sullair


Explore Other Assets


© 2026 MaintainX. All rights reserved.