


Miller Miller Arc Welding Power Source And Wire Feeder Millermatic 175 Millermatic 175
Need answers fast?
Explore the manual using AI.

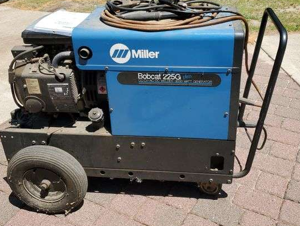
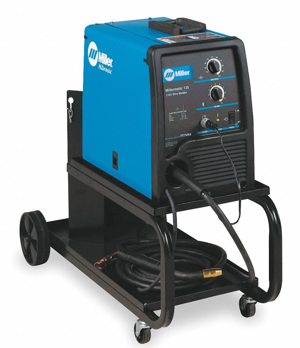
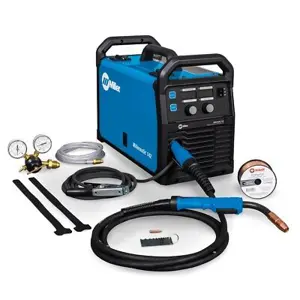
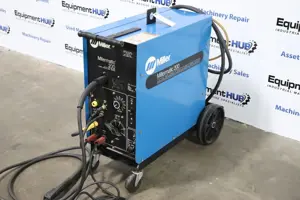
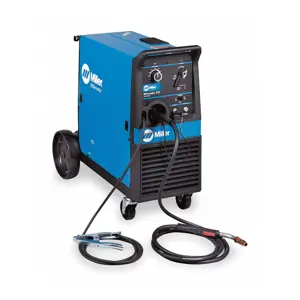
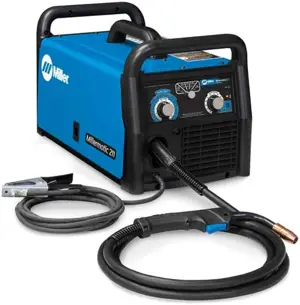
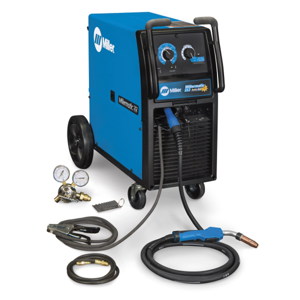
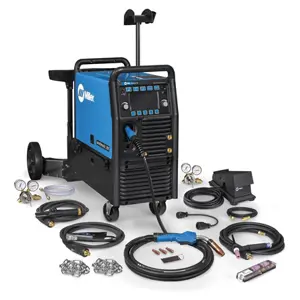
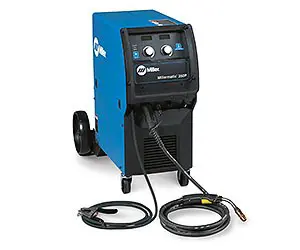
The Miller Arc Welding Power Source and Wire Feeder Millermatic 175 is a versatile welding solution designed for both novice and experienced welders. Known for its reliability and performance, this equipment excels in MIG welding applications, making it a popular choice in various industrial settings.
Turn manuals into instant answers
with your AI-powered assistantTurn manuals into instant answers
with your AI-powered assistant
Manual for Miller Miller Arc Welding Power Source And Wire Feeder Millermatic 175 Millermatic 175
Complete asset maintenance, one click away
Get instant access to all the maintenance information you need. Empower technicians to perform preventive maintenance with asset packages, ready to use right out of the box.

Documents & Manuals
Find all the essential guides in one place.
 Tensioning Guide
- Belt-diagram
- C-120 pulleys
+ 13 more

Work Order Templates
Pre-built workflows to keep your asset running smoothly.
- Daily Electrical System Inspection
- Replace Roller and Pulley
- Install Engine B-120
+ 29 more

Procedures
Integrate maintenance plans directly into your work orders.
- Motion Industries
- Applied Industrial Technologies
- Electrical Brothers
+ 5 more

Parts
Access the parts list for your equipment in MaintainX.
- Drive Motor
- B2 Rollers
- Tensioning System
+ 40 more
Miller Miller Arc Welding Power Source And Wire Feeder Millermatic 175 Millermatic 175
Create an account to install this asset package.
Maintenance Plans for Miller Miller Arc Welding Power Source And Wire Feeder Millermatic 175 Model Millermatic 175
Integrate maintenance plans directly into your work orders in MaintainX.
Gun Contact Tip Replacement
Turn Off power before replacing contact tip.
Power turned off?
Cut off welding wire at contact tip.
Welding wire cut off at contact tip?
Remove nozzle.
Nozzle removed?
Remove contact tip and install new contact tip.
New contact tip installed?
Reinstall nozzle.

Switch And/Or Head Tube Replacement
Turn Off welding power source/wire feeder and disconnect gun.
Remove handle locking nut.
Remove switch housing. Install new switch and connect leads (polarity is not important).
Reassemble in reverse order. If replacing head tube, continue to end of figure.
Slide handle.
Secure head tube in vice.
Loosen jam nut. Remove from vice and turn head tube out by hand.
Hand-tighten head tube into cable connector.
Place head tube in vice and tighten until nuts are tight.
Gun Liner Maintenance
Disconnect gun from unit
Remove nozzle, contact tip, adapter, gas diffuser, and wire outlet guide
Lay gun cable out straight before installing new liner
Blow out gun casing
Install and tighten new liner
Cut liner off 3/4 in (20 mm) (3/8 in [9.5 mm] for aluminum) from head tube
Install adapter, contact tip, and nozzle
Sign off on the gun liner maintenance
3 Monthly Arc Welding Power Source Maintenance
Check if labels are readable
Inspect weld cable for cracks
Check weld terminals for cleanliness and tightness
Every 6 months or monthly during heavy service
Clean or vacuum inside
Sign off on the maintenance
Drive Roll Or Wire Inlet Guide Replacement
Warning: Ensure the machine is powered off before starting the procedure
Inlet Wire Guide removed successfully
Upload a photo of the new guide in place
Drive Roll
Drive roll threaded in the groove closest to the motor shaft
Upload a photo of the drive roll in place
Retaining Pin
Drive roll secured over retaining pin
Upload a photo of the drive roll rotated to closed slot
Parts for Miller Miller Arc Welding Power Source And Wire Feeder Millermatic 175 Millermatic 175
Access the parts list for your equipment in MaintainX.
Label
208 267
Wrapper
202 583
Door
202 584
Capacitor
193 040
Panel
202 411
Label
208 267
Wrapper
202 583
Door
202 584
Capacitor
193 040
Panel
202 411
Label
208 267
Wrapper
202 583
Door
202 584
Capacitor
193 040
Panel
202 411
Unlock efficiency
with MaintainX CoPilot
MaintainX CoPilot is your expert colleague, on call 24/7, helping your team find the answers they need to keep equipment running.
Reduce Unplanned Downtime
Ensure your team follows consistent procedures to minimize equipment failures and costly delays.
Maximize Asset Availability
Keep your assets running longer and more reliably, with standardized maintenance workflows from OEM manuals.
Lower Maintenance Costs
Turn any technician into an expert to streamline operations, maintain more assets, and reduce overall costs.
Thousands of companies manage their assets with MaintainX

'%3e%3cpath%20fill='url(%23b)'%20d='M66.008%2080.068c-5.084-.786-9.763-3.834-12.442-8.68a16.942%2016.942%200%200%201-1.87-5.18c1.096.19%202.203.476%203.298.87%206.525%202.333%2010.836%207.68%2011.014%2012.99ZM51.47%2061.576c.488-5.524%203.62-10.716%208.847-13.597a17.132%2017.132%200%200%201%2011.335-1.882c-.798%208.145-7.43%2014.848-16.038%2015.599-1.417.119-2.799.07-4.144-.12Zm28.564-11.478a17.513%2017.513%200%200%201%203.727%204.62c4.608%208.335%201.584%2018.813-6.75%2023.409a16.988%2016.988%200%200%201-4.359%201.679%2019.624%2019.624%200%200%201-3.977-12.776c.346-7.561%204.942-13.931%2011.36-16.932Z'/%3e%3cpath%20fill='%23110F0D'%20fill-rule='evenodd'%20d='M142.831%2048.324h4.977V77.03h-4.977V48.324Zm27.278%2013.002c.322%201.048.453%202.263.453%203.62v12.073h-4.787V66.208c0-.75-.047-1.572-.154-2.143-.453-2.382-1.822-3.572-4.215-3.572-2.31%200-3.882%201.274-4.43%203.476-.143.596-.226%201.405-.226%202.25v10.8h-4.787V56.623h4.477v2.989c1.536-2.5%203.906-3.43%206.371-3.43%203.488%200%206.263%201.68%207.298%205.144Zm24.636%207.323c0%203.882-2.358%206.525-5.763%207.727-1.298.453-2.632.643-4.62.643h-10.169V48.324h9.085c1.691%200%203.156.143%204.049.38%203.465.93%205.727%203.68%205.727%207.335%200%202.441-.81%204.156-2.762%205.644%202.905%201.417%204.453%203.727%204.453%206.966Zm-15.634-8.656h4.584c1.024%200%201.917-.143%202.536-.417%201.215-.548%201.905-1.608%201.905-3.167%200-1.548-.643-2.572-1.845-3.132-.691-.31-1.762-.452-2.763-.452h-4.417v7.168Zm10.716%208.465c0-1.536-.893-3.37-3.227-3.893-.428-.095-1.036-.143-1.571-.143h-5.918v8.085h5.501c.56%200%201.429-.048%201.953-.167%201.94-.453%203.262-1.846%203.262-3.882Zm47.747-11.847-8.097%2020.408h-4.429l-8.109-20.408h5.191l5.192%2014.574%205.108-14.574h5.144Zm-20.218%2010.002c0%20.69-.036%201.262-.155%201.94h-15.943c.631%202.87%202.714%204.728%205.882%204.728%202.131%200%203.607-.882%204.703-2.525h4.87c-1.762%204.144-5.204%206.692-9.657%206.692-6.084%200-10.537-4.858-10.537-10.49%200-6.108%204.524-10.776%2010.335-10.776%206.239%200%2010.442%204.954%2010.502%2010.43Zm-4.763-1.405c-.333-2.846-2.643-4.858-5.691-4.858-2.894%200-5.287%201.929-5.621%204.858h11.312Zm-72.667%203.44c0%204.787-3.287%208.371-9.419%208.371H119.363V64.66c-1.917.274-3.87.69-5.811%201.238l4.537%2011.121h-5.418l-3.596-9.585c-5.144%202.084-10.085%205.216-14.217%209.585h-4.786L101.8%2048.312h4.56l5.68%2013.883a44.112%2044.112%200%200%201%207.323-1.774V48.312h9.084c1.703%200%203.156.143%204.061.393%203.453.929%205.727%203.667%205.727%207.323%200%201.917-.738%204.179-2.81%205.691%203.06%201.56%204.501%204.025%204.501%206.93Zm-15.634-8.667a62.664%2062.664%200%200%201%202.06-.036c1.703.012%203.239.131%204.608.37%201.441-.549%202.357-1.727%202.357-3.537%200-1.941-.881-3.144-2.488-3.667-.548-.18-1.358-.286-2.322-.286h-4.215v7.156Zm-16.55%203.905-3.715-9.894-6.394%2016.502c2.833-2.595%206.263-4.858%2010.109-6.608Zm27.254%204.74c0-2.775-3.131-4.347-8.513-4.418-.715%200-1.441.011-2.191.047v8.252h5.918c2.548%200%204.786-1.37%204.786-3.882Z'%20clip-rule='evenodd'/%3e%3c/g%3e%3cdefs%3e%3clinearGradient%20id='b'%20x1='51.47'%20x2='85.916'%20y1='62.946'%20y2='62.946'%20gradientUnits='userSpaceOnUse'%3e%3cstop%20stop-color='%23CD9F28'/%3e%3cstop%20offset='1'%20stop-color='%23ECD80B'/%3e%3c/linearGradient%3e%3cclipPath%20id='a'%3e%3cpath%20fill='%23fff'%20d='M51.47%2045.728h186.104V80.14H51.47z'/%3e%3c/clipPath%3e%3c/defs%3e%3c/svg%3e)


More from Miller


Explore Other Assets


© 2025 MaintainX. All rights reserved.