


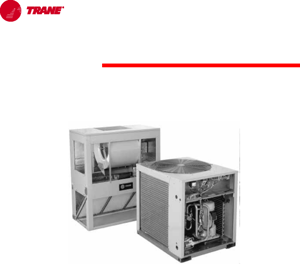
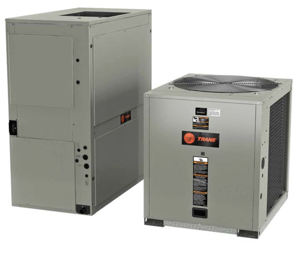
Trane Packaged Rooftop TSC060AW
Need answers fast?
Explore the manual using AI.
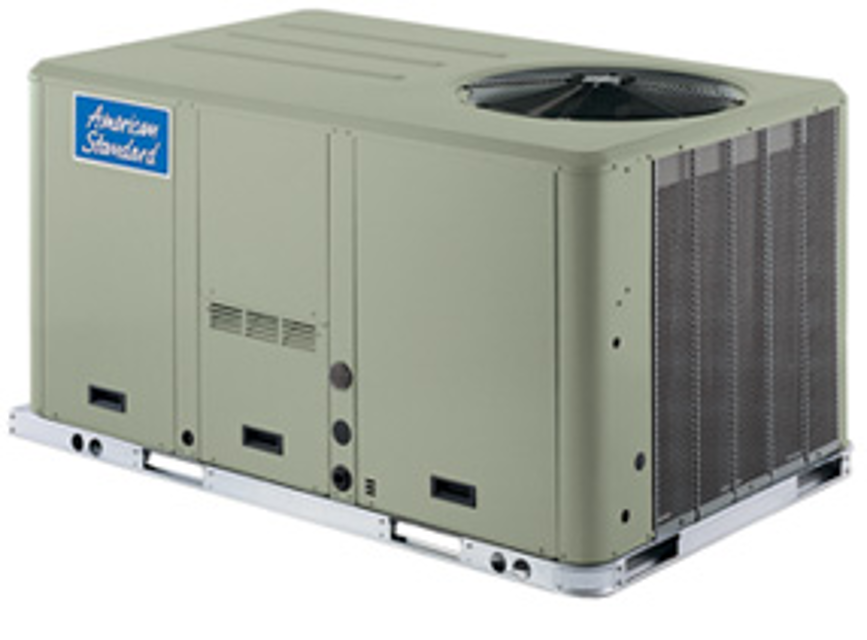
The Trane Packaged Rooftop TSC060AW is a high-efficiency HVAC solution designed for commercial applications. This rooftop unit combines advanced technology with reliable performance, ensuring optimal climate control and energy savings for your facility. Ideal for various environments, it offers robust features tailored to meet your heating and cooling needs.
Turn manuals into instant answers
with your AI-powered assistantTurn manuals into instant answers
with your AI-powered assistant
Manual for Trane Packaged Rooftop TSC060AW
Complete asset maintenance, one click away
Get instant access to all the maintenance information you need. Empower technicians to perform preventive maintenance with asset packages, ready to use right out of the box.

Documents & Manuals
Find all the essential guides in one place.
 Tensioning Guide
- Belt-diagram
- C-120 pulleys
+ 13 more

Work Order Templates
Pre-built workflows to keep your asset running smoothly.
- Daily Electrical System Inspection
- Replace Roller and Pulley
- Install Engine B-120
+ 29 more

Procedures
Integrate maintenance plans directly into your work orders.
- Motion Industries
- Applied Industrial Technologies
- Electrical Brothers
+ 5 more

Parts
Access the parts list for your equipment in MaintainX.
- Drive Motor
- B2 Rollers
- Tensioning System
+ 40 more
Trane Packaged Rooftop TSC060AW
Create an account to install this asset package.
Maintenance Plans for Trane Packaged Rooftop Model TSC060AW
Integrate maintenance plans directly into your work orders in MaintainX.
1 Monthly Filter Maintenance
WARNING! Hazardous Voltage! Disconnect all electric power, including remote disconnects before servicing. Follow proper lockout/ tagout procedures to ensure the power can not be inadvertently energized. Failure to disconnect power before servicing could result in death or serious injury.
Turned the unit OFF and locked the main power disconnect switch open?
Inspected the return air filters?
Cleaned or replaced the filters if necessary?

1 Yearly Round Tube Plate Fin Coil Cleaning
WARNING! Hazardous Chemicals! Coil cleaning agents can be either acidic or highly alkaline and can burn severely if contact with skin occurs. Handle chemical carefully and avoid contact with skin
ALWAYS wear Personal Protective Equipment (PPE) including goggles or face shield, chemical resistant gloves, boots, apron or suit as required
For personal safety refer to the cleaning agent manufacturer’s Materials Safety Data Sheet and follow all recommended safe handling practices
Failure to follow all safety instructions could result in death or serious injury
Remove enough panels from the unit to gain access to the coil
Protect all electrical devices such as motors and controllers from any over spray
Straighten any bent coil fins with a fin comb
Mix the detergent with water according to the manufacturer’s instructions. If desired, heat the solution BUT DO NOT EXCEED 150oF maximum to improve its cleansing capability
WARNING! Hazardous Pressures! Coils contain refrigerant under pressure.When cleaning coils, maintain coil cleaning solution temperature under 150°F to avoid excessive pressure in the coil. Failure to follow these safety precautions could result in coil bursting, which could result in death or serious injury
1 Yearly Coil Cleaning
Regular coil maintenance, including annual cleaning, enhances the unit’s operating efficiency by minimizing: compressor head pressure and amperage draw; evaporator water carryover; fan brake horsepower, due to increase static pressure losses; airflow reduction.
At least once each year, or more often if the unit is located in a “dirty” environment, clean the evaporator and condenser coils using the instructions outlined below. Be sure to follow these instructions as closely as possible to avoid damaging the coils.
Note: For units equipped with hail guards follow removal procedure listed below.
Hail Guard Removal Procedure
To clean refrigerant coils, use a soft brush and a sprayer (either a garden pump-up type or a high-pressure sprayer).
Cleaning Materials
Sign off on the coil cleaning
1 Yearly Microchannel Coil Cleaning
NOTICE! Coil Damage! DO NOT use any detergents with microchannel condenser coils. Use pressurized water or air ONLY, with pressure no greater than 600psi. Failure to do so could result in coil damage. For additional information regarding the proper microchannel coil cleaning procedure, refer to RT-SVB83*-EN
Due to the soft material and thin walls of the MCHE coils, the traditional field maintenance method recommended for RoundTube Plate Fin (RTPF) coils does not apply to microchannel coils
Moreover, chemical cleaners are a risk factor to MCHE due to the material of the coil.The manufacturer does not recommend the use of chemical cleaners to clean microchannel coils. Using chemical cleaners could lead to warranty claims being further evaluated for validity and failure analysis
The recommended cleaning method for microchannel condenser coils is pressurized water or air with a non-pinpoint nozzle and an ECU of at least 180 with pressure no greater than 600 psi.To minimize the risk of coil damage, approach the cleaning of the coil with the pressure washer aimed perpendicular to the face of the coil
Note: For more details on Microchannel coil cleaning, please refer to bulletin RT-SVB83*-EN;
1 Monthly Packaged Rooftop Cooling Season Maintenance
Check the unit’s drain pans and condensate piping to ensure that there are no blockages
Inspect the evaporator and condenser coils for dirt, bent fins, etc. If the coils appear dirty, clean them according to the instructions described in “Coil Cleaning” later in this section
Manually rotate the condenser fan(s) to ensure free movement and check motor bearings for wear. Verify that all of the fan mounting hardware is tight
Inspect the F/A-R/A damper hinges and pins to ensure that all moving parts are securely mounted. Keep the blades clean as necessary
Verify that all damper linkages move freely; lubricate with white grease, if necessary
Check supply fan motor bearings; repair or replace the motor as necessary
Check the fan shaft bearings for wear. Replace the bearings as necessary
Check the supply fan belt. If the belt is frayed or worn, replace it. Refer to the “Fan Belt Adjustment” section for belt replacement and adjustments
Verify that all wire terminal connections are tight
Parts for Trane Packaged Rooftop TSC060AW
Access the parts list for your equipment in MaintainX.
Wall Mounted Relative Humidity Sensor
BAYSENS036
Supply Air Duct Sensor
X1310004002
Remote Zone Sensor
BAYSENS016
Zone Sensor Module (ZSM)
BAYSENS108
Return Air Duct Sensor
X1310004001
Wall Mounted Relative Humidity Sensor
BAYSENS036
Supply Air Duct Sensor
X1310004002
Remote Zone Sensor
BAYSENS016
Zone Sensor Module (ZSM)
BAYSENS108
Return Air Duct Sensor
X1310004001
Wall Mounted Relative Humidity Sensor
BAYSENS036
Supply Air Duct Sensor
X1310004002
Remote Zone Sensor
BAYSENS016
Zone Sensor Module (ZSM)
BAYSENS108
Return Air Duct Sensor
X1310004001
Unlock efficiency
with MaintainX CoPilot
MaintainX CoPilot is your expert colleague, on call 24/7, helping your team find the answers they need to keep equipment running.
Reduce Unplanned Downtime
Ensure your team follows consistent procedures to minimize equipment failures and costly delays.
Maximize Asset Availability
Keep your assets running longer and more reliably, with standardized maintenance workflows from OEM manuals.
Lower Maintenance Costs
Turn any technician into an expert to streamline operations, maintain more assets, and reduce overall costs.
Thousands of companies manage their assets with MaintainX

'%3e%3cpath%20fill='url(%23b)'%20d='M66.008%2080.068c-5.084-.786-9.763-3.834-12.442-8.68a16.942%2016.942%200%200%201-1.87-5.18c1.096.19%202.203.476%203.298.87%206.525%202.333%2010.836%207.68%2011.014%2012.99ZM51.47%2061.576c.488-5.524%203.62-10.716%208.847-13.597a17.132%2017.132%200%200%201%2011.335-1.882c-.798%208.145-7.43%2014.848-16.038%2015.599-1.417.119-2.799.07-4.144-.12Zm28.564-11.478a17.513%2017.513%200%200%201%203.727%204.62c4.608%208.335%201.584%2018.813-6.75%2023.409a16.988%2016.988%200%200%201-4.359%201.679%2019.624%2019.624%200%200%201-3.977-12.776c.346-7.561%204.942-13.931%2011.36-16.932Z'/%3e%3cpath%20fill='%23110F0D'%20fill-rule='evenodd'%20d='M142.831%2048.324h4.977V77.03h-4.977V48.324Zm27.278%2013.002c.322%201.048.453%202.263.453%203.62v12.073h-4.787V66.208c0-.75-.047-1.572-.154-2.143-.453-2.382-1.822-3.572-4.215-3.572-2.31%200-3.882%201.274-4.43%203.476-.143.596-.226%201.405-.226%202.25v10.8h-4.787V56.623h4.477v2.989c1.536-2.5%203.906-3.43%206.371-3.43%203.488%200%206.263%201.68%207.298%205.144Zm24.636%207.323c0%203.882-2.358%206.525-5.763%207.727-1.298.453-2.632.643-4.62.643h-10.169V48.324h9.085c1.691%200%203.156.143%204.049.38%203.465.93%205.727%203.68%205.727%207.335%200%202.441-.81%204.156-2.762%205.644%202.905%201.417%204.453%203.727%204.453%206.966Zm-15.634-8.656h4.584c1.024%200%201.917-.143%202.536-.417%201.215-.548%201.905-1.608%201.905-3.167%200-1.548-.643-2.572-1.845-3.132-.691-.31-1.762-.452-2.763-.452h-4.417v7.168Zm10.716%208.465c0-1.536-.893-3.37-3.227-3.893-.428-.095-1.036-.143-1.571-.143h-5.918v8.085h5.501c.56%200%201.429-.048%201.953-.167%201.94-.453%203.262-1.846%203.262-3.882Zm47.747-11.847-8.097%2020.408h-4.429l-8.109-20.408h5.191l5.192%2014.574%205.108-14.574h5.144Zm-20.218%2010.002c0%20.69-.036%201.262-.155%201.94h-15.943c.631%202.87%202.714%204.728%205.882%204.728%202.131%200%203.607-.882%204.703-2.525h4.87c-1.762%204.144-5.204%206.692-9.657%206.692-6.084%200-10.537-4.858-10.537-10.49%200-6.108%204.524-10.776%2010.335-10.776%206.239%200%2010.442%204.954%2010.502%2010.43Zm-4.763-1.405c-.333-2.846-2.643-4.858-5.691-4.858-2.894%200-5.287%201.929-5.621%204.858h11.312Zm-72.667%203.44c0%204.787-3.287%208.371-9.419%208.371H119.363V64.66c-1.917.274-3.87.69-5.811%201.238l4.537%2011.121h-5.418l-3.596-9.585c-5.144%202.084-10.085%205.216-14.217%209.585h-4.786L101.8%2048.312h4.56l5.68%2013.883a44.112%2044.112%200%200%201%207.323-1.774V48.312h9.084c1.703%200%203.156.143%204.061.393%203.453.929%205.727%203.667%205.727%207.323%200%201.917-.738%204.179-2.81%205.691%203.06%201.56%204.501%204.025%204.501%206.93Zm-15.634-8.667a62.664%2062.664%200%200%201%202.06-.036c1.703.012%203.239.131%204.608.37%201.441-.549%202.357-1.727%202.357-3.537%200-1.941-.881-3.144-2.488-3.667-.548-.18-1.358-.286-2.322-.286h-4.215v7.156Zm-16.55%203.905-3.715-9.894-6.394%2016.502c2.833-2.595%206.263-4.858%2010.109-6.608Zm27.254%204.74c0-2.775-3.131-4.347-8.513-4.418-.715%200-1.441.011-2.191.047v8.252h5.918c2.548%200%204.786-1.37%204.786-3.882Z'%20clip-rule='evenodd'/%3e%3c/g%3e%3cdefs%3e%3clinearGradient%20id='b'%20x1='51.47'%20x2='85.916'%20y1='62.946'%20y2='62.946'%20gradientUnits='userSpaceOnUse'%3e%3cstop%20stop-color='%23CD9F28'/%3e%3cstop%20offset='1'%20stop-color='%23ECD80B'/%3e%3c/linearGradient%3e%3cclipPath%20id='a'%3e%3cpath%20fill='%23fff'%20d='M51.47%2045.728h186.104V80.14H51.47z'/%3e%3c/clipPath%3e%3c/defs%3e%3c/svg%3e)


More from Trane


Explore Other Assets


© 2026 MaintainX. All rights reserved.