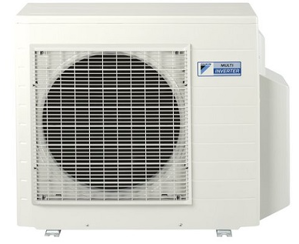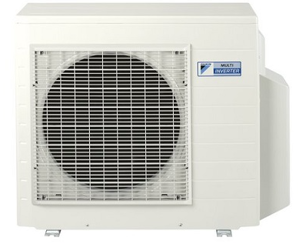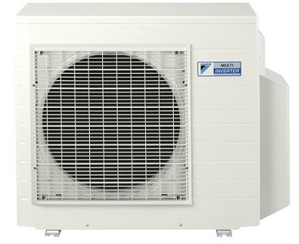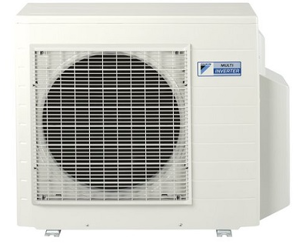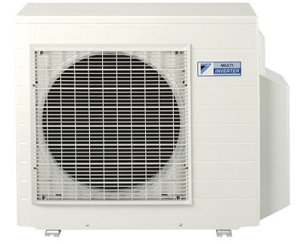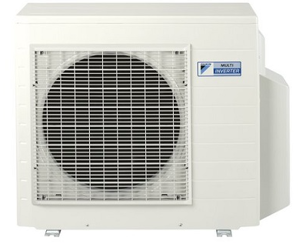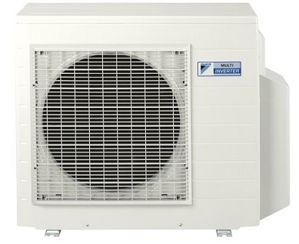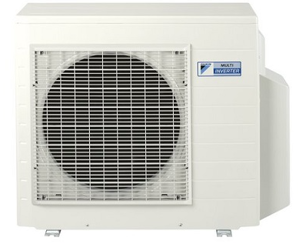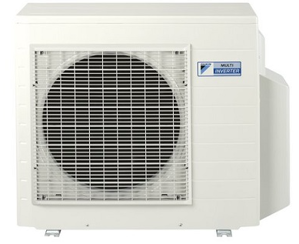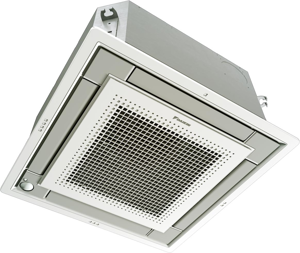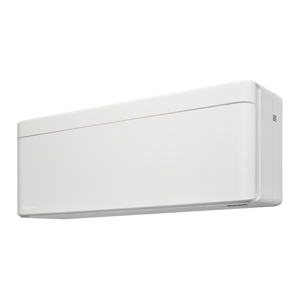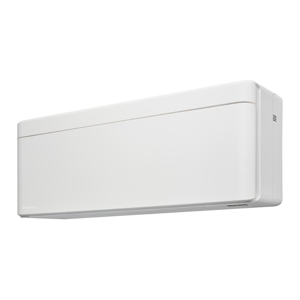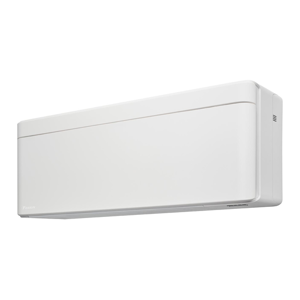

The Daikin Split System Air Conditioner FCA60CVMA is a high-efficiency cooling solution designed for residential and commercial applications. With advanced features and reliable performance, this model ensures optimal comfort and energy savings throughout the year. Experience superior climate control with Daikin's innovative technology.
Turn manuals into instant answers
with your AI-powered assistantTurn manuals into instant answers
with your AI-powered assistant
Manual for Daikin Split System Air Conditioner FCA60CVMA
Complete asset maintenance, one click away
Get instant access to all the maintenance information you need. Empower technicians to perform preventive maintenance with asset packages, ready to use right out of the box.
Documents & Manuals
Find all the essential guides in one place.
Tensioning Guide
Belt-diagram
C-120 pulleys
+ 13 more
Work Order Templates
Pre-built workflows to keep your asset running smoothly.
Daily Electrical System Inspection
Replace Roller and Pulley
Install Engine B-120
+ 29 more
Procedures
Integrate maintenance plans directly into your work orders.
Motion Industries
Applied Industrial Technologies
Electrical Brothers
+ 5 more
Parts
Access the parts list for your equipment in MaintainX.
Drive Motor
B2 Rollers
Tensioning System
+ 40 more

Daikin Split System Air Conditioner FCA60CVMA
Create an account to install this asset package.
Maintenance Plans for Daikin Split System Air Conditioner Model FCA60CVMA
Integrate maintenance plans directly into your work orders in MaintainX.
Suction Grille Cleaning
Open the suction grille by pushing it downward slowly while pressing the buttons provided on two spots
Remove the strings of the suction grille from the holding parts on the panel main body
Detach the suction grille by opening it 45 degrees and lifting it upward
Refer to “HOW TO CLEAN THE AIR FILTER” for detaching the air filter
Clean the suction grille with a soft bristle brush and neutral detergent or water, and dry thoroughly
NOTE: Do not wash the suction grille with water of 50°C or higher. It may cause discoloration and deformation. When drying the suction grille, do not heat it with fire. It may cause burning. Do not use such as gasoline, benzine, thinner, polishing powder and liquid insecticide sold in the market. It may cause discoloration and deformation.
Refer to “HOW TO CLEAN THE AIR FILTER” for reattaching the air filter
Reattach the suction grille as per item No. 2
Fit the string of the suction grille in the reverse order of the procedure 2
Split System Air Conditioner Cleaning
CLEANING BEFORE AND AFTER SEASONAL USE:
WHAT TO DO WHEN START UP AFTER A LONG STOP:
Confirm the following.
Check that the air inlet and outlet of indoor and outdoor unit are not blocked.
Remove any obstacle.
Obstacles may cause a reduction in the fan speed, which may decrease functionality, cause an increase In operation noise, or a malfunction of the equipment.
Clean the air filter and outside panel
After cleaning the air filter, make sure to attach it. (Refer to "8. MAINTENANCE" on page 7.)
For information on how to install, remove, or clean a optional sold air filter, refer to the user's manual attached to the air filter.
2500 Hourly / 1 Yearly Air Filter Cleaning
ONLY A QUALIFIED SERVICE PERSON IS ALLOWED TO PERFORM MAINTENANCE
WARNING
Safety Precautions
CAUTION
Safety Precautions
NOTE
Safety Precautions
HOW TO CLEAN THE AIR FILTER
Cleaning Steps
Air Outlet Cleaning
Warning: Do not use gasoline, benzine, thinner, polishing powder and liquid insecticide sold in the market. It may cause discoloration and deformation.
Do not wash the filter with warm water of 50C or higher. It may cause discoloration and deformation.
Wipe air outlet, outside panel, and remote controller with a dry soft cloth.
Is the stain still present?
If the stain is still present, proceed to the next step.
Dip the cloth in the neutral detergent diluted with water and twist the cloth. Wipe off stain with this cloth, then wipe them with dry cloth.
Sign off on the air outlet cleaning
Unlock efficiency
with MaintainX CoPilot
MaintainX CoPilot is your expert colleague, on call 24/7, helping your team find the answers they need to keep equipment running.
Reduce Unplanned Downtime
Ensure your team follows consistent procedures to minimize equipment failures and costly delays.
Maximize Asset Availability
Keep your assets running longer and more reliably, with standardized maintenance workflows from OEM manuals.
Lower Maintenance Costs
Turn any technician into an expert to streamline operations, maintain more assets, and reduce overall costs.
Thousands of companies manage their assets with MaintainX


