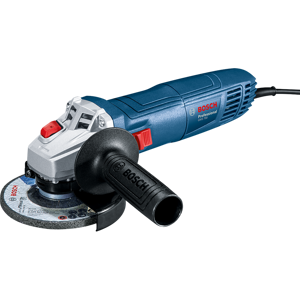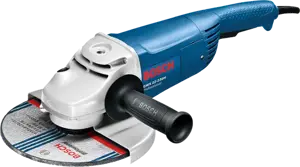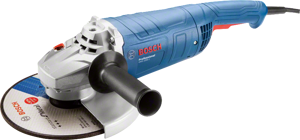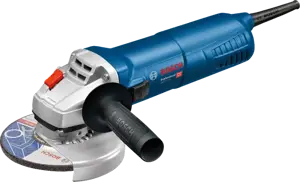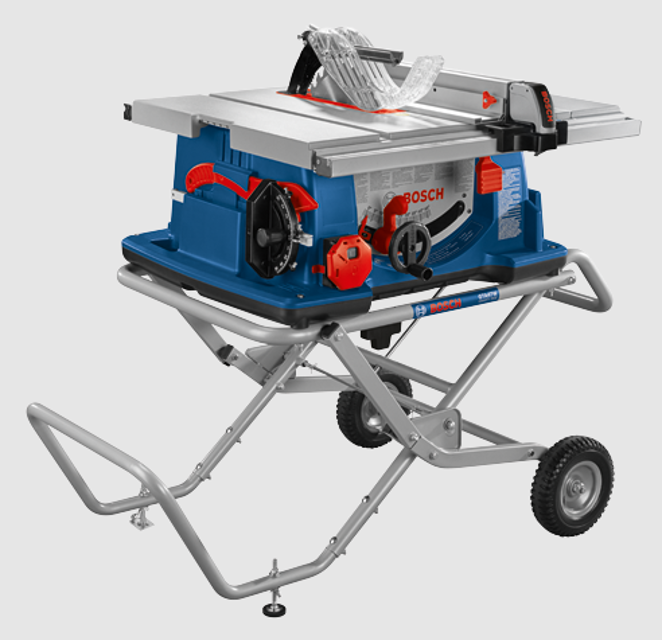

The Bosch Table Saw 4100XC is a high-performance, portable table saw designed for professional woodworking. With its powerful motor and advanced safety features, this model ensures precision cutting and user safety, making it an essential tool for contractors and DIY enthusiasts alike.
Turn manuals into instant answers
with your AI-powered assistantTurn manuals into instant answers
with your AI-powered assistant
Manual for Bosch Table Saw 4100XC
Complete asset maintenance, one click away
Get instant access to all the maintenance information you need. Empower technicians to perform preventive maintenance with asset packages, ready to use right out of the box.
Documents & Manuals
Find all the essential guides in one place.
Tensioning Guide
Belt-diagram
C-120 pulleys
+ 13 more
Work Order Templates
Pre-built workflows to keep your asset running smoothly.
Daily Electrical System Inspection
Replace Roller and Pulley
Install Engine B-120
+ 29 more
Procedures
Integrate maintenance plans directly into your work orders.
Motion Industries
Applied Industrial Technologies
Electrical Brothers
+ 5 more
Parts
Access the parts list for your equipment in MaintainX.
Drive Motor
B2 Rollers
Tensioning System
+ 40 more

Bosch Table Saw 4100XC
Create an account to install this asset package.
Maintenance Plans for Bosch Table Saw Model 4100XC
Integrate maintenance plans directly into your work orders in MaintainX.
Rip Fence Adjustments
Warning: To prevent personal injury, always disconnect plug from power source before making any adjustments.
The rip fence must be parallel with the SAWBLADE in order to prevent KICKBACK when ripping.
To prevent personal injury, always make sure the rip fence is locked before making rip cuts.
Your table saw is equipped with a self-aligning, quick-set rip fence.
NOTE: The blade must be parallel with the miter gauge slots and be perpendicular to table before proceeding with rip fence alignment.
Lift both guard barriers to their up locked position.
Raise lock handle and slide rip fence until it is alongside the sawblade, by lifting right side pawl above rip fence.
The rip fence should touch the blade teeth at the front and rear of the blade.
Loosen the two screws on the top front section of the rip fence using the included 5mm hex wrench.
Table Pointer Adjustment
Warning: Make sure the machine is turned off before starting the adjustment process.
Loosen pointer adjustment screw 1
Adjust pointer 2
Tighten screw
The table pointer should always be adjusted relative to rip fence pointer.
Adjust rip fence pointer 7 to zero
Slide rip fence to the right until it hits the stop plate on front rail and lock rip fence in place.
Enter the measurement on lower scale (at or near 14.5\)"
Adjust the table pointer 2 to the same reading on upper scale as that shown on the rip fence pointer.
Adjusting Riving Knife
Raise the saw blade 2 to maximum height and set the bevel angle to 0°
Remove the barrier guard assembly and anti-kickback device
Remove the table insert
Place the rip fencece 3 on the right side and slide it until it touches the tips of the saw blade 2 - Lock rip fence
Loosen Hex Nut 6 with 10mm open end wrench (Fig. 28). Slightly loosen clamping screws 8 (1/4–1/2 turns) using a 5mm hex wrench 15 provided with table saw (stored in right side of base). Loosen set screw 7 using a flat screwdriver (Fig. 28)
Fold a small (6\ x 6\" [152x152 mm]) piece of standard 20 lb. (75gsm) copy paper forming two layers (Fig. 27). The paper 5 is used as a “Spacing Gauge”"
Insert folded paper 5 between riving knife 1 and rip fence 3. Hold riving knife and paper firmly against rip fence (Fig. 28 and 29). Lightly tighten the clamp screws 8. Remove the paper - Slide rip fence away from blade. Slowly turn the set screw 7 while watching the riving knife tilt until it is in line with the blade. Recheck squareness of riving knife to table by sliding rip fence against blade. Readjust if necessary
After completing adjustments: Lightly tighten hex nut 6 (hold set screw position with screwdriver while tightening nut). Fully tighten clamp screws 8 with hex wrench 15. Then fully tighten the hex nut. Check that the riving knife stays in line with blade when the blade is tilted at any angle. Replace the barrier guard assembly and anti-kickback device before making cuts
Sign off on the riving knife adjustment
Adjusting Blade Parallel to the Miter Gauge Slots
Warning: To prevent personal injury, always disconnect the plug from power source before making any adjustments.
Blade adjusted parallel to the miter gauge slots at the factory
If adjustment is necessary, follow the steps below.
Turn elevation wheel 7 and raise blade as high as it will go.
Select a point on the body of the saw blade that is set to the left when viewing blade from the front of saw, and mark 1 with a pencil.
Place the base of a combination square against the edge of the miter gauge slot, and extend the sliding rule of square so it just touches the marked point 1 on the body of the saw blade at the rear of the table.
Rotate blade and check the same marked point 1 of the saw blade at the front of the table.
If the front and back measurements are not identical, loosen the four alignment bolts 2, located on the underside of the table at the front and rear of the saw with hex wrench supplied with your saw.
Carefully move the saw blade until the blade is parallel to the miter gauge slot, and securely tighten all four bolts.
Miter Gauge Adjustment
Warning: Ensure the machine is turned off before starting the procedure
Is the miter gauge in line with the blade?
Is the miter gauge body 90 degrees to the blade?
To adjust the miter gauge for 90 degrees, follow these steps:
Loosen lock nut 3, adjustment screw 4, and lock knob 5.
Flip stop plate 6 down.
Rotate miter gauge body until it is 90 degrees to the blade.
Tighten lock knob 5.
Flip stop plate 6 up and tighten adjustment screw 4 until it contacts stop plate.
Parts for Bosch Table Saw 4100XC
Access the parts list for your equipment in MaintainX.
Holding Bracket
2610996921
Sliding Rail
1600A02OM4
Clamping Lever
2610950073
Mounting Rail
2610950075
Pointer
2610950078
Holding Bracket
2610996921
Sliding Rail
1600A02OM4
Clamping Lever
2610950073
Mounting Rail
2610950075
Pointer
2610950078
Holding Bracket
2610996921
Sliding Rail
1600A02OM4
Clamping Lever
2610950073
Mounting Rail
2610950075
Pointer
2610950078
Unlock efficiency
with MaintainX CoPilot
MaintainX CoPilot is your expert colleague, on call 24/7, helping your team find the answers they need to keep equipment running.
Reduce Unplanned Downtime
Ensure your team follows consistent procedures to minimize equipment failures and costly delays.
Maximize Asset Availability
Keep your assets running longer and more reliably, with standardized maintenance workflows from OEM manuals.
Lower Maintenance Costs
Turn any technician into an expert to streamline operations, maintain more assets, and reduce overall costs.
Thousands of companies manage their assets with MaintainX


