


Stryker Performance-Load Cot Fastener System 6392
Need answers fast?
Explore the manual using AI.
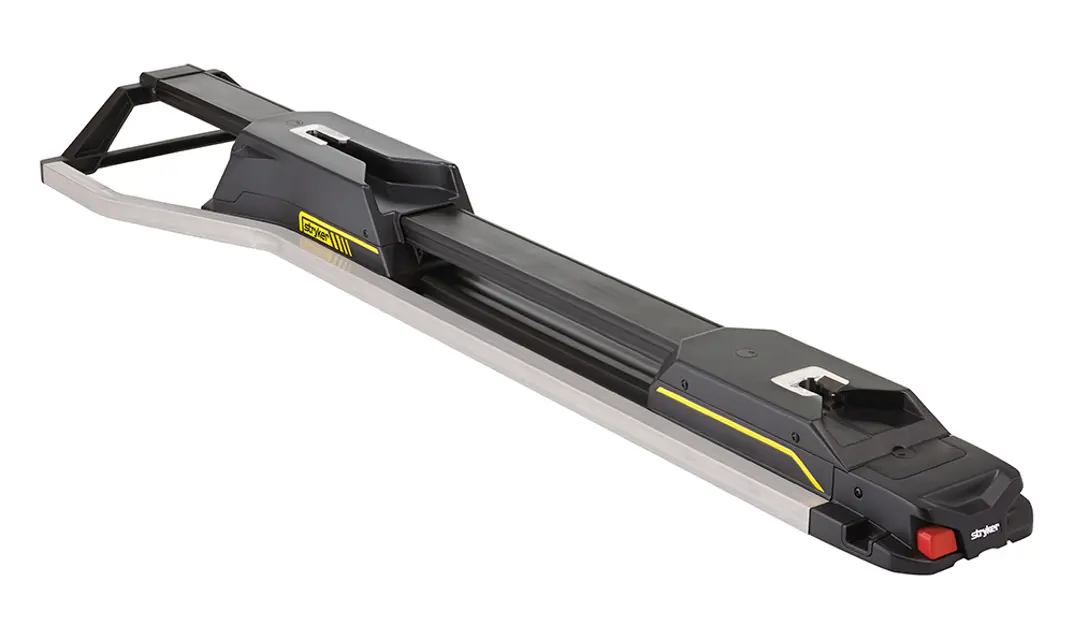
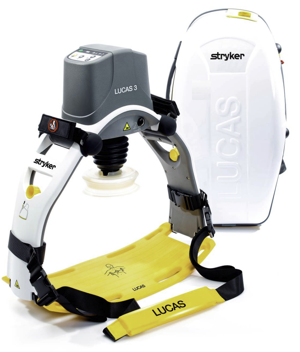
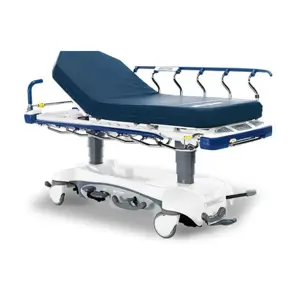
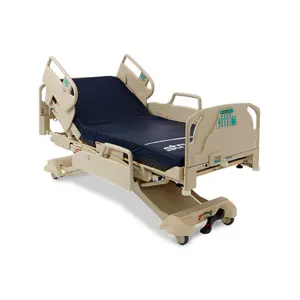
The Stryker Performance-Load Cot Fastener System 6392 is a high-quality, durable cot designed for efficient patient transport in medical environments. This advanced system ensures safety and reliability, making it an essential asset for healthcare facilities. Regular maintenance and proper care are crucial for optimal performance.
Turn manuals into instant answers
with your AI-powered assistantTurn manuals into instant answers
with your AI-powered assistant
Manual for Stryker Performance-Load Cot Fastener System 6392
Complete asset maintenance, one click away
Get instant access to all the maintenance information you need. Empower technicians to perform preventive maintenance with asset packages, ready to use right out of the box.

Documents & Manuals
Find all the essential guides in one place.
 Tensioning Guide
- Belt-diagram
- C-120 pulleys
+ 13 more

Work Order Templates
Pre-built workflows to keep your asset running smoothly.
- Daily Electrical System Inspection
- Replace Roller and Pulley
- Install Engine B-120
+ 29 more

Procedures
Integrate maintenance plans directly into your work orders.
- Motion Industries
- Applied Industrial Technologies
- Electrical Brothers
+ 5 more

Parts
Access the parts list for your equipment in MaintainX.
- Drive Motor
- B2 Rollers
- Tensioning System
+ 40 more
Stryker Performance-Load Cot Fastener System 6392
Create an account to install this asset package.
Maintenance Plans for Stryker Performance-Load Cot Fastener System Model 6392
Integrate maintenance plans directly into your work orders in MaintainX.
3 Month Performance-Load Cot Fastener System Maintenance
Warning: Service only by qualified personnel
Remove product from service before performing the preventive maintenance inspection
Check loose fasteners – Replace if loose
Record of the maintenance activity
Sign off on the maintenance

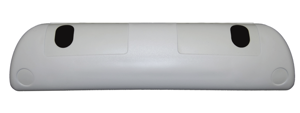
Foot End Cover Assembly Replacement
Tools required: T27 Torx driver, 15/16'' hex wrench, 3/8'' Allen wrench
Remove and save the four socket head cap screws that secure the foot end cover assembly to the transfer using a T27 Torx driver
Remove and save the two button head cap screws that secure the foot end cover assembly to the foot end nose assembly using a T27 Torx driver
Remove the foot end cover assembly by sliding it toward the head end of the vehicle patient compartment
Reinstall the foot end cover assembly by reversing steps 1-3
Loosen the locknut that secures the pin to the head end forging assembly using a 15/16'' hex wrench
Adjust the pin so there is maximum clearance between the foot end cover assembly during loading and unloading using a 3/8'' Allen wrench
NOTE! The pin must lock into the head end of the fastener while loaded
Tighten the locknut that secures the pin to the head end forging assembly using a 15/16'' hex wrench
Performance-Load Cot Fastener System Cleaning
WARNING! Always use any appropriate personal protective equipment while power washing to avoid inhaling contagion. Power washing equipment may aerate contamination.
CAUTION! Do not clean, service, or perform maintenance while the product is in use.
The product is power washable. The product may show some signs of oxidation or discoloration from continuous washing. No degradation of the product’s performance will occur from power washing as long as you follow the proper procedures.
Followed the cleaning solution manufacturer’s dilution recommendations exactly?
Power washed with recommended cleaners?
Hosed down the product and towel dried the guide?
Power washed the rails and interface plates with a hand held wand unit or wiped the product with a clean cloth and recommended cleaners?
NOTE! Water that gets into the Performance-LOAD system will drain through the drain tube to the underside of the vehicle.
Sign off on the cleaning procedure
1 Year Performance-Load Cot Fastener System Maintenance
Warning: Service only by qualified personnel
Remove product from service before you perform the preventive maintenance inspection
Established and followed a maintenance schedule
Kept records of the maintenance activity
Need to perform preventive maintenance checks more often based on your level of product usage?
Check all parts
Replaced any worn parts, if necessary
Checked full functionality
Sign off on the maintenance
Foot End Interface Assembly Replacement
Tools required: T27 Torx driver, 1/4'' hex wrench, Torque wrench (in-lb)
Removed the six screws that secure the foot end top cover to the foot end bottom cover using a T27 Torx Driver
Removed the six screws that secure the foot end interface assembly (K) to the foot end weldment using a 1⁄4'' hex wrench
NOTE! Torque item screws to 300 in-lb.
Removed the foot end interface from the lower release link by sliding it toward the head end
Reinstalled the foot end interface assembly by reversing the steps
Verified proper operation before returning the product to service
Sign off on the foot end interface assembly replacement
Parts for Stryker Performance-Load Cot Fastener System 6392
Access the parts list for your equipment in MaintainX.
Square Nut
0015-096-000
Button Head Cap Screw
0004-376-000
Socket Head Cap Screw
0004-270-000
Button Head Cap Screw
0004-387-000
Cleat Locator Washer
6392-001-401
Square Nut
0015-096-000
Button Head Cap Screw
0004-376-000
Socket Head Cap Screw
0004-270-000
Button Head Cap Screw
0004-387-000
Cleat Locator Washer
6392-001-401
Square Nut
0015-096-000
Button Head Cap Screw
0004-376-000
Socket Head Cap Screw
0004-270-000
Button Head Cap Screw
0004-387-000
Cleat Locator Washer
6392-001-401
Unlock efficiency
with MaintainX CoPilot
MaintainX CoPilot is your expert colleague, on call 24/7, helping your team find the answers they need to keep equipment running.
Reduce Unplanned Downtime
Ensure your team follows consistent procedures to minimize equipment failures and costly delays.
Maximize Asset Availability
Keep your assets running longer and more reliably, with standardized maintenance workflows from OEM manuals.
Lower Maintenance Costs
Turn any technician into an expert to streamline operations, maintain more assets, and reduce overall costs.
Thousands of companies manage their assets with MaintainX

'%3e%3cpath%20fill='url(%23b)'%20d='M66.008%2080.068c-5.084-.786-9.763-3.834-12.442-8.68a16.942%2016.942%200%200%201-1.87-5.18c1.096.19%202.203.476%203.298.87%206.525%202.333%2010.836%207.68%2011.014%2012.99ZM51.47%2061.576c.488-5.524%203.62-10.716%208.847-13.597a17.132%2017.132%200%200%201%2011.335-1.882c-.798%208.145-7.43%2014.848-16.038%2015.599-1.417.119-2.799.07-4.144-.12Zm28.564-11.478a17.513%2017.513%200%200%201%203.727%204.62c4.608%208.335%201.584%2018.813-6.75%2023.409a16.988%2016.988%200%200%201-4.359%201.679%2019.624%2019.624%200%200%201-3.977-12.776c.346-7.561%204.942-13.931%2011.36-16.932Z'/%3e%3cpath%20fill='%23110F0D'%20fill-rule='evenodd'%20d='M142.831%2048.324h4.977V77.03h-4.977V48.324Zm27.278%2013.002c.322%201.048.453%202.263.453%203.62v12.073h-4.787V66.208c0-.75-.047-1.572-.154-2.143-.453-2.382-1.822-3.572-4.215-3.572-2.31%200-3.882%201.274-4.43%203.476-.143.596-.226%201.405-.226%202.25v10.8h-4.787V56.623h4.477v2.989c1.536-2.5%203.906-3.43%206.371-3.43%203.488%200%206.263%201.68%207.298%205.144Zm24.636%207.323c0%203.882-2.358%206.525-5.763%207.727-1.298.453-2.632.643-4.62.643h-10.169V48.324h9.085c1.691%200%203.156.143%204.049.38%203.465.93%205.727%203.68%205.727%207.335%200%202.441-.81%204.156-2.762%205.644%202.905%201.417%204.453%203.727%204.453%206.966Zm-15.634-8.656h4.584c1.024%200%201.917-.143%202.536-.417%201.215-.548%201.905-1.608%201.905-3.167%200-1.548-.643-2.572-1.845-3.132-.691-.31-1.762-.452-2.763-.452h-4.417v7.168Zm10.716%208.465c0-1.536-.893-3.37-3.227-3.893-.428-.095-1.036-.143-1.571-.143h-5.918v8.085h5.501c.56%200%201.429-.048%201.953-.167%201.94-.453%203.262-1.846%203.262-3.882Zm47.747-11.847-8.097%2020.408h-4.429l-8.109-20.408h5.191l5.192%2014.574%205.108-14.574h5.144Zm-20.218%2010.002c0%20.69-.036%201.262-.155%201.94h-15.943c.631%202.87%202.714%204.728%205.882%204.728%202.131%200%203.607-.882%204.703-2.525h4.87c-1.762%204.144-5.204%206.692-9.657%206.692-6.084%200-10.537-4.858-10.537-10.49%200-6.108%204.524-10.776%2010.335-10.776%206.239%200%2010.442%204.954%2010.502%2010.43Zm-4.763-1.405c-.333-2.846-2.643-4.858-5.691-4.858-2.894%200-5.287%201.929-5.621%204.858h11.312Zm-72.667%203.44c0%204.787-3.287%208.371-9.419%208.371H119.363V64.66c-1.917.274-3.87.69-5.811%201.238l4.537%2011.121h-5.418l-3.596-9.585c-5.144%202.084-10.085%205.216-14.217%209.585h-4.786L101.8%2048.312h4.56l5.68%2013.883a44.112%2044.112%200%200%201%207.323-1.774V48.312h9.084c1.703%200%203.156.143%204.061.393%203.453.929%205.727%203.667%205.727%207.323%200%201.917-.738%204.179-2.81%205.691%203.06%201.56%204.501%204.025%204.501%206.93Zm-15.634-8.667a62.664%2062.664%200%200%201%202.06-.036c1.703.012%203.239.131%204.608.37%201.441-.549%202.357-1.727%202.357-3.537%200-1.941-.881-3.144-2.488-3.667-.548-.18-1.358-.286-2.322-.286h-4.215v7.156Zm-16.55%203.905-3.715-9.894-6.394%2016.502c2.833-2.595%206.263-4.858%2010.109-6.608Zm27.254%204.74c0-2.775-3.131-4.347-8.513-4.418-.715%200-1.441.011-2.191.047v8.252h5.918c2.548%200%204.786-1.37%204.786-3.882Z'%20clip-rule='evenodd'/%3e%3c/g%3e%3cdefs%3e%3clinearGradient%20id='b'%20x1='51.47'%20x2='85.916'%20y1='62.946'%20y2='62.946'%20gradientUnits='userSpaceOnUse'%3e%3cstop%20stop-color='%23CD9F28'/%3e%3cstop%20offset='1'%20stop-color='%23ECD80B'/%3e%3c/linearGradient%3e%3cclipPath%20id='a'%3e%3cpath%20fill='%23fff'%20d='M51.47%2045.728h186.104V80.14H51.47z'/%3e%3c/clipPath%3e%3c/defs%3e%3c/svg%3e)


More from Stryker


Explore Other Assets


© 2026 MaintainX. All rights reserved.