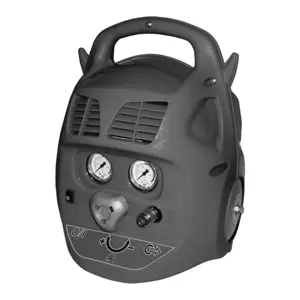
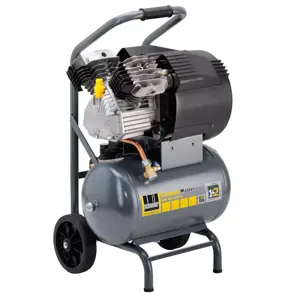
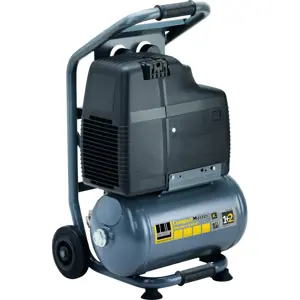
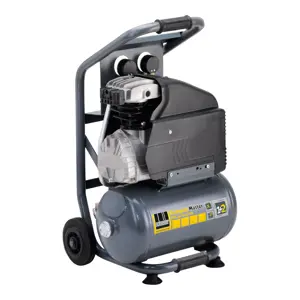
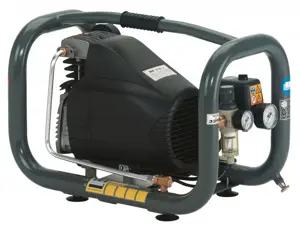
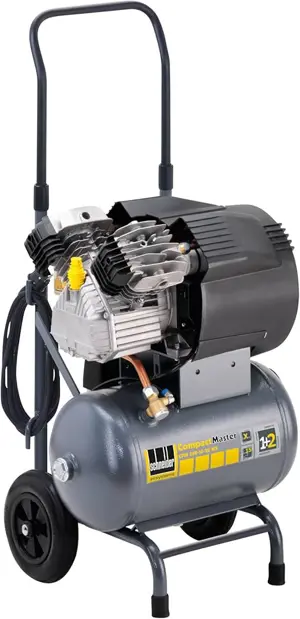
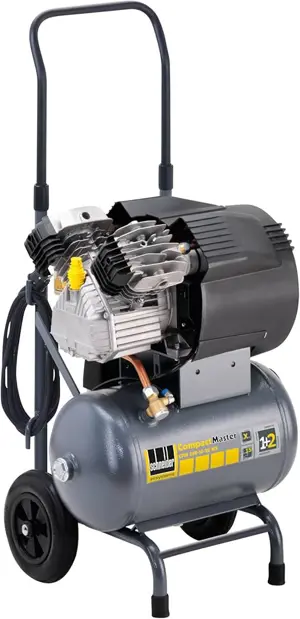
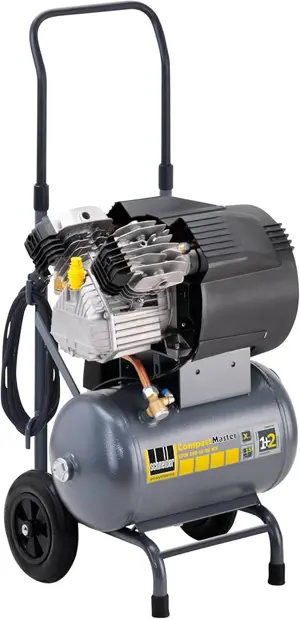
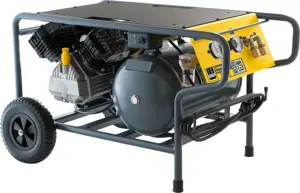
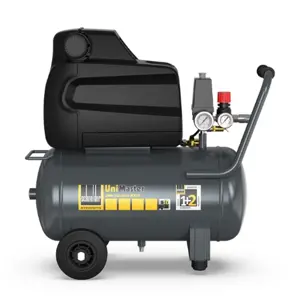
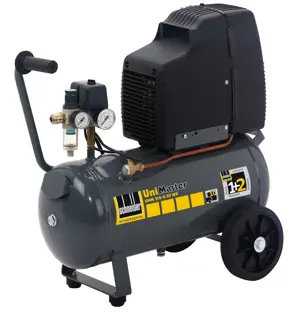
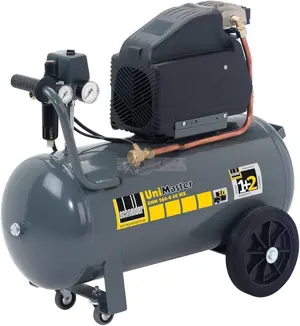
The Schneider Electric Air Compressor UNM 255-8-30 WXM Clean is a high-performance industrial air compressor designed for efficient operation and reliability. Ideal for various applications, this model ensures optimal air quality and pressure control, making it a valuable asset in any industrial setting.
Turn manuals into instant answers
with your AI-powered assistantTurn manuals into instant answers
with your AI-powered assistant
Manual for Schneider Electric Schneider Electric Air Compressor UNM 255-8-30 WXM Clean UNM 255-8-30 WXM Clean
Complete asset maintenance, one click away
Get instant access to all the maintenance information you need. Empower technicians to perform preventive maintenance with asset packages, ready to use right out of the box.
Documents & Manuals
Find all the essential guides in one place.
Tensioning Guide
Belt-diagram
C-120 pulleys
+ 13 more
Work Order Templates
Pre-built workflows to keep your asset running smoothly.
Daily Electrical System Inspection
Replace Roller and Pulley
Install Engine B-120
+ 29 more
Procedures
Integrate maintenance plans directly into your work orders.
Motion Industries
Applied Industrial Technologies
Electrical Brothers
+ 5 more
Parts
Access the parts list for your equipment in MaintainX.
Drive Motor
B2 Rollers
Tensioning System
+ 40 more
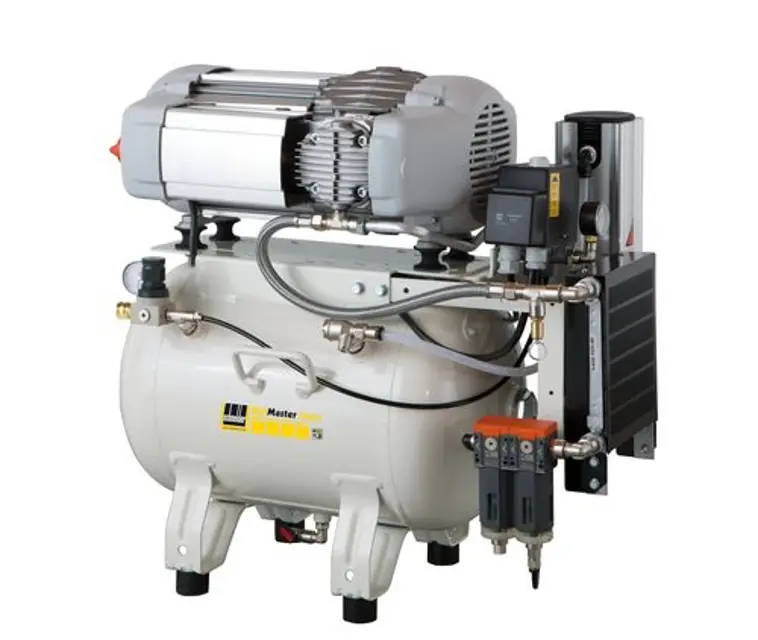
Schneider Electric Schneider Electric Air Compressor UNM 255-8-30 WXM Clean UNM 255-8-30 WXM Clean
Create an account to install this asset package.
Maintenance Plans for Schneider Electric Schneider Electric Air Compressor UNM 255-8-30 WXM Clean Model UNM 255-8-30 WXM Clean
Integrate maintenance plans directly into your work orders in MaintainX.
5 Yearly Replacement
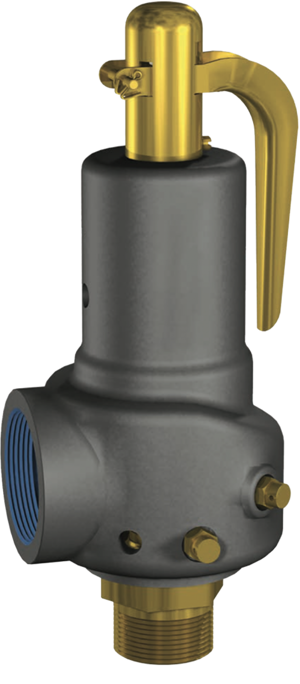
2.6.12 Replacing the safety valve
1. Detach the safety valve (item 11) by unscrewing it anticlockwise.
2. Apply Loctite® 243 to the thread of the new safety valve or wind Teflon tape around the valve.
3. Screw the new safety valve into place by screwing it clockwise.;
Weekly Cleaning
2.6.8 Cleaning the intake filter
1. Pull out the filter insert (Fig. 5a).
2. Clean the filter insert using the blow gun, exchange the filter insert if necessary.
3. Insert the filter insert.;
10 Hours Check
2.6.7 Check screw fittings
1. Check all screw connections for tight fit and retighten if necessary.
2. Observe the tightening torques (tightening torques calculated according to VDI 2230).;
Yearly Maintenance
2.6.3 Clean the air cooler
The air cooler must be blown out from the front using a blow gun held at an angle of 90° (Fig. 7a).
2.6.4 Clean FDM insert
1. Depressurise vessel of FDM.
2. Hold a suitable vessel under the condensate drain. Drain condensate.
3. Disassemble vessel of FDM. Unscrew the mounting screw of the filter insert by screwing anticlockwise (Fig. 4a).
4. Remove the filter insert, clean in soapy water (max. 50 °C). Change the filter insert, if required.
5. Installation is in reverse order.
2.6.7 Check screw fittings
Parts for Schneider Electric Schneider Electric Air Compressor UNM 255-8-30 WXM Clean UNM 255-8-30 WXM Clean
Access the parts list for your equipment in MaintainX.
Intake filter
-
Check valve
-
Pressure switch with ON/OFF switch
-
Microfilter
-
Pressure gauge (vessel pressure)
-
Intake filter
-
Check valve
-
Pressure switch with ON/OFF switch
-
Microfilter
-
Pressure gauge (vessel pressure)
-
Intake filter
-
Check valve
-
Pressure switch with ON/OFF switch
-
Microfilter
-
Pressure gauge (vessel pressure)
-
Unlock efficiency
with MaintainX CoPilot
MaintainX CoPilot is your expert colleague, on call 24/7, helping your team find the answers they need to keep equipment running.
Reduce Unplanned Downtime
Ensure your team follows consistent procedures to minimize equipment failures and costly delays.
Maximize Asset Availability
Keep your assets running longer and more reliably, with standardized maintenance workflows from OEM manuals.
Lower Maintenance Costs
Turn any technician into an expert to streamline operations, maintain more assets, and reduce overall costs.
Thousands of companies manage their assets with MaintainX


