


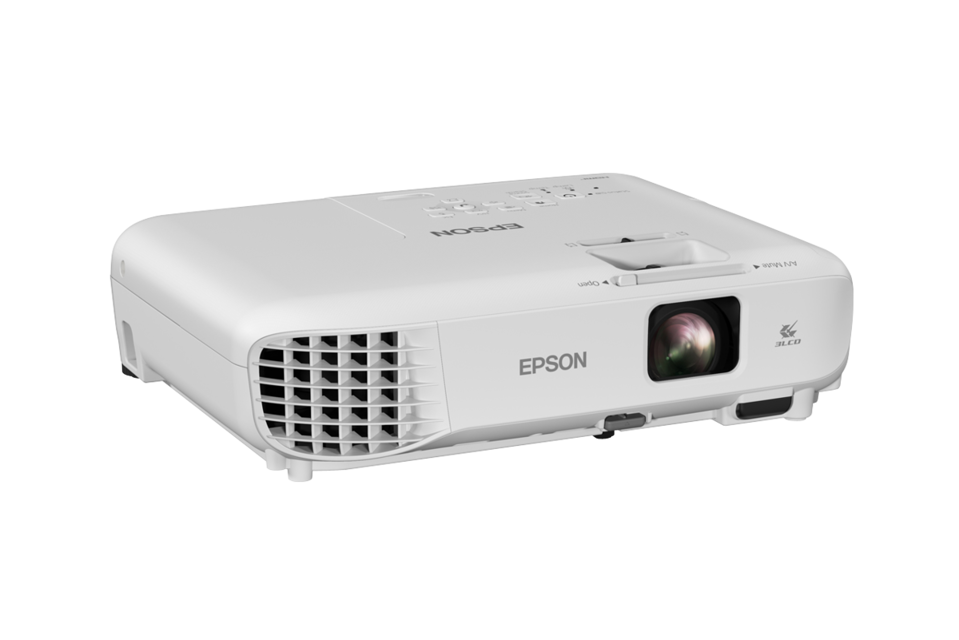
Epson Multimedia Projector EB-X600
Need answers fast?
Explore the manual using AI.
Turn manuals into instant answers
with your AI-powered assistantTurn manuals into instant answers
with your AI-powered assistant
Complete asset maintenance, one click away
Get instant access to all the maintenance information you need. Empower technicians to perform preventive maintenance with asset packages, ready to use right out of the box.

Documents & Manuals
Find all the essential guides in one place.
 Tensioning Guide
- Belt-diagram
- C-120 pulleys
+ 13 more

Work Order Templates
Pre-built workflows to keep your asset running smoothly.
- Daily Electrical System Inspection
- Replace Roller and Pulley
- Install Engine B-120
+ 29 more

Procedures
Integrate maintenance plans directly into your work orders.
- Motion Industries
- Applied Industrial Technologies
- Electrical Brothers
+ 5 more

Parts
Access the parts list for your equipment in MaintainX.
- Drive Motor
- B2 Rollers
- Tensioning System
+ 40 more
Epson Multimedia Projector EB-X600
Create an account to install this asset package.
Maintenance Plans for Epson Multimedia Projector Model EB-X600
Integrate maintenance plans directly into your work orders in MaintainX.
Projector Lens Cleaning
Warning: Before cleaning any part of the projector, turn it off and unplug the power cord. Never open any cover on the projector, except as specifically explained in this manual. Dangerous electrical voltages in the projector can injure you severely.
Projector turned off and power cord unplugged
Lens is dusty
If the lens is dusty, blow off dust using a blower, and then wipe the lens.
Dust blown off using a blower
Lens wiped with clean and dry lens-cleaning paper
Warning: Do not use any flammable gas sprays such as air dusters to blow off dust. The high heat generated by the projector may cause a fire.
Attention: Do not wipe the lens right after you turn off the projector. Doing so could damage the lens. Do not use any harsh materials to clean the lens and do not subject the lens to any impacts; otherwise, it could be damaged.
Sign off on the projector lens cleaning

6000 Hourly Air Filter and Vents Cleaning
Is the projector turned off and unplugged?
Upload a photo of the dusty air filter or vents
Was the dust gently removed using a small vacuum or a very soft brush?
Attention! Do not use canned air. The gases may leave a flammable residue or push dust and debris into the projector's optics or other sensitive areas.
Is dust difficult to remove or the air filter is damaged?
If dust is difficult to remove or the air filter is damaged, replace the air filter.
Sign off on the air filter and vents cleaning
Projector Case Cleaning
Warning: Before cleaning any part of the projector, turn it off and unplug the power cord. Never open any cover on the projector, except as specifically explained in this manual. Dangerous electrical voltages in the projector can injure you severely.
Projector turned off and power cord unplugged
To remove dust or dirt, use a soft, dry, lint-free cloth.
Dust and dirt removed
To remove stubborn dirt, use a soft cloth moistened with water and mild soap. Do not spray liquid directly on the projector.
Stubborn dirt removed
Attention! Do not use wax, alcohol, benzene, paint thinner, or other chemicals to clean the projector case. These can damage the case. Do not use canned air, or the gases may leave a flammable residue.
Sign off on the projector case cleaning
Projector Lamp Maintenance
Replace the lamp as soon as possible when the following occurs:
• The projected image gets darker or quality declines
• A message is displayed when you turn on the projector telling you to replace the lamp (the message is displayed 100 hours before the expected end of the lamp life and appears for 30 seconds)
• The projector's power indicator is flashing blue and its lamp indicator is flashing orange.
Attention
• If you continue to use the lamp after the replacement period has passed, the possibility that the lamp may explode increases.
When the lamp replacement message appears, replace the lamp with a new one as soon as possible, even if it is still working.
• Do not repeatedly turn off the power and then immediately turn it back on. Turning the power on and off frequently may shorten the lamp's operating life.
• Depending on the characteristics of the lamp and the way it has been used, the lamp may become darker or stop working before the lamp warning message appears.
Air Filter Replacement
Warning: Ensure the projector is turned off and unplugged before starting the procedure.
Is the air filter torn or damaged?
If the air filter is not damaged, no need to replace it.
Upload a photo of the damaged air filter.
Did you dispose of the used air filter according to local regulations?
Material of the filter frame
Material of the filter
Upload a photo of the new air filter in place.
Sign off on the air filter replacement.
Unlock efficiency
with MaintainX CoPilot
MaintainX CoPilot is your expert colleague, on call 24/7, helping your team find the answers they need to keep equipment running.
Reduce Unplanned Downtime
Ensure your team follows consistent procedures to minimize equipment failures and costly delays.
Maximize Asset Availability
Keep your assets running longer and more reliably, with standardized maintenance workflows from OEM manuals.
Lower Maintenance Costs
Turn any technician into an expert to streamline operations, maintain more assets, and reduce overall costs.
Thousands of companies manage their assets with MaintainX

'%3e%3cpath%20fill='url(%23b)'%20d='M66.008%2080.068c-5.084-.786-9.763-3.834-12.442-8.68a16.942%2016.942%200%200%201-1.87-5.18c1.096.19%202.203.476%203.298.87%206.525%202.333%2010.836%207.68%2011.014%2012.99ZM51.47%2061.576c.488-5.524%203.62-10.716%208.847-13.597a17.132%2017.132%200%200%201%2011.335-1.882c-.798%208.145-7.43%2014.848-16.038%2015.599-1.417.119-2.799.07-4.144-.12Zm28.564-11.478a17.513%2017.513%200%200%201%203.727%204.62c4.608%208.335%201.584%2018.813-6.75%2023.409a16.988%2016.988%200%200%201-4.359%201.679%2019.624%2019.624%200%200%201-3.977-12.776c.346-7.561%204.942-13.931%2011.36-16.932Z'/%3e%3cpath%20fill='%23110F0D'%20fill-rule='evenodd'%20d='M142.831%2048.324h4.977V77.03h-4.977V48.324Zm27.278%2013.002c.322%201.048.453%202.263.453%203.62v12.073h-4.787V66.208c0-.75-.047-1.572-.154-2.143-.453-2.382-1.822-3.572-4.215-3.572-2.31%200-3.882%201.274-4.43%203.476-.143.596-.226%201.405-.226%202.25v10.8h-4.787V56.623h4.477v2.989c1.536-2.5%203.906-3.43%206.371-3.43%203.488%200%206.263%201.68%207.298%205.144Zm24.636%207.323c0%203.882-2.358%206.525-5.763%207.727-1.298.453-2.632.643-4.62.643h-10.169V48.324h9.085c1.691%200%203.156.143%204.049.38%203.465.93%205.727%203.68%205.727%207.335%200%202.441-.81%204.156-2.762%205.644%202.905%201.417%204.453%203.727%204.453%206.966Zm-15.634-8.656h4.584c1.024%200%201.917-.143%202.536-.417%201.215-.548%201.905-1.608%201.905-3.167%200-1.548-.643-2.572-1.845-3.132-.691-.31-1.762-.452-2.763-.452h-4.417v7.168Zm10.716%208.465c0-1.536-.893-3.37-3.227-3.893-.428-.095-1.036-.143-1.571-.143h-5.918v8.085h5.501c.56%200%201.429-.048%201.953-.167%201.94-.453%203.262-1.846%203.262-3.882Zm47.747-11.847-8.097%2020.408h-4.429l-8.109-20.408h5.191l5.192%2014.574%205.108-14.574h5.144Zm-20.218%2010.002c0%20.69-.036%201.262-.155%201.94h-15.943c.631%202.87%202.714%204.728%205.882%204.728%202.131%200%203.607-.882%204.703-2.525h4.87c-1.762%204.144-5.204%206.692-9.657%206.692-6.084%200-10.537-4.858-10.537-10.49%200-6.108%204.524-10.776%2010.335-10.776%206.239%200%2010.442%204.954%2010.502%2010.43Zm-4.763-1.405c-.333-2.846-2.643-4.858-5.691-4.858-2.894%200-5.287%201.929-5.621%204.858h11.312Zm-72.667%203.44c0%204.787-3.287%208.371-9.419%208.371H119.363V64.66c-1.917.274-3.87.69-5.811%201.238l4.537%2011.121h-5.418l-3.596-9.585c-5.144%202.084-10.085%205.216-14.217%209.585h-4.786L101.8%2048.312h4.56l5.68%2013.883a44.112%2044.112%200%200%201%207.323-1.774V48.312h9.084c1.703%200%203.156.143%204.061.393%203.453.929%205.727%203.667%205.727%207.323%200%201.917-.738%204.179-2.81%205.691%203.06%201.56%204.501%204.025%204.501%206.93Zm-15.634-8.667a62.664%2062.664%200%200%201%202.06-.036c1.703.012%203.239.131%204.608.37%201.441-.549%202.357-1.727%202.357-3.537%200-1.941-.881-3.144-2.488-3.667-.548-.18-1.358-.286-2.322-.286h-4.215v7.156Zm-16.55%203.905-3.715-9.894-6.394%2016.502c2.833-2.595%206.263-4.858%2010.109-6.608Zm27.254%204.74c0-2.775-3.131-4.347-8.513-4.418-.715%200-1.441.011-2.191.047v8.252h5.918c2.548%200%204.786-1.37%204.786-3.882Z'%20clip-rule='evenodd'/%3e%3c/g%3e%3cdefs%3e%3clinearGradient%20id='b'%20x1='51.47'%20x2='85.916'%20y1='62.946'%20y2='62.946'%20gradientUnits='userSpaceOnUse'%3e%3cstop%20stop-color='%23CD9F28'/%3e%3cstop%20offset='1'%20stop-color='%23ECD80B'/%3e%3c/linearGradient%3e%3cclipPath%20id='a'%3e%3cpath%20fill='%23fff'%20d='M51.47%2045.728h186.104V80.14H51.47z'/%3e%3c/clipPath%3e%3c/defs%3e%3c/svg%3e)


More from Epson


Explore Other Assets


© 2026 MaintainX. All rights reserved.