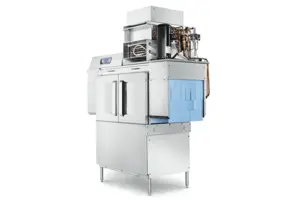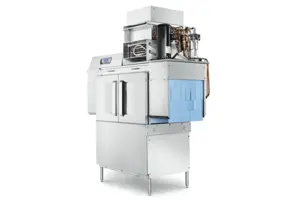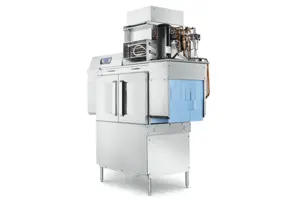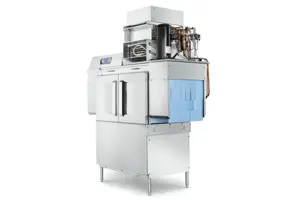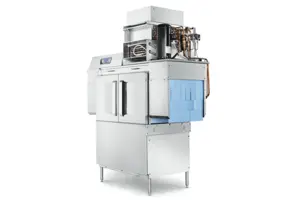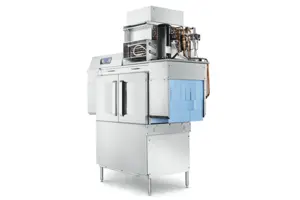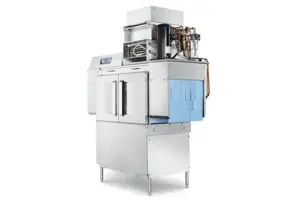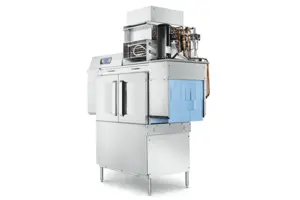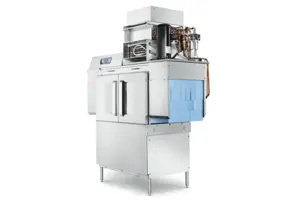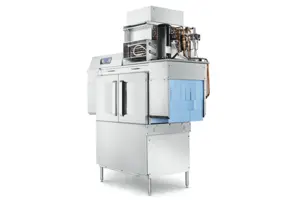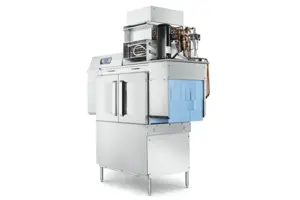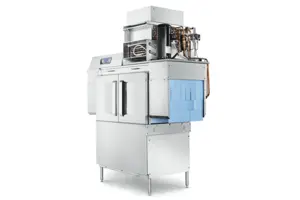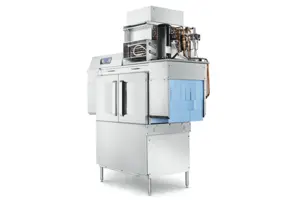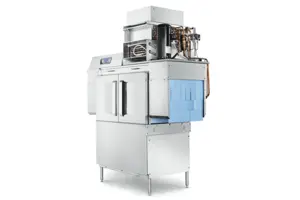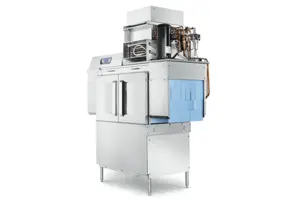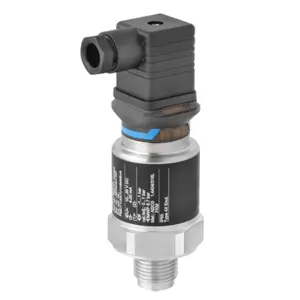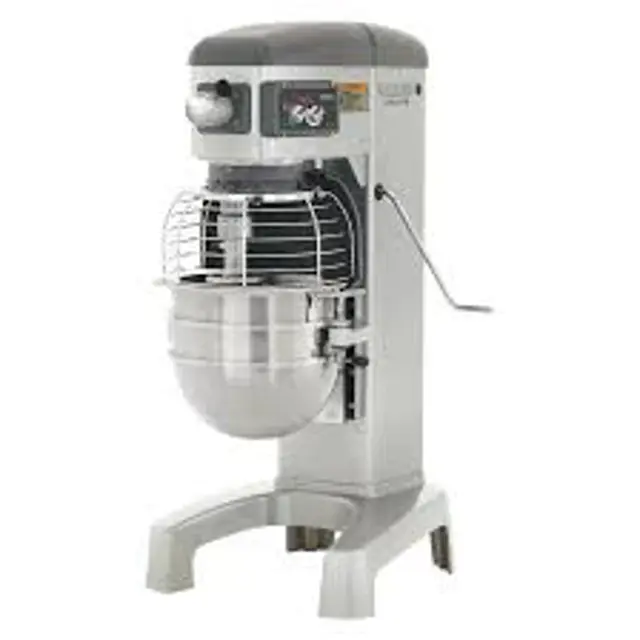
The Hobart Mixer HL300C is a robust industrial mixer designed for high-volume food preparation. Known for its durability and efficiency, this mixer is ideal for bakeries and restaurants, ensuring consistent mixing results. Regular maintenance and quality spare parts are essential for optimal performance and longevity.
Turn manuals into instant answers
with your AI-powered assistantTurn manuals into instant answers
with your AI-powered assistant
Complete asset maintenance, one click away
Get instant access to all the maintenance information you need. Empower technicians to perform preventive maintenance with asset packages, ready to use right out of the box.
Documents & Manuals
Find all the essential guides in one place.
Tensioning Guide
Belt-diagram
C-120 pulleys
+ 13 more
Work Order Templates
Pre-built workflows to keep your asset running smoothly.
Daily Electrical System Inspection
Replace Roller and Pulley
Install Engine B-120
+ 29 more
Procedures
Integrate maintenance plans directly into your work orders.
Motion Industries
Applied Industrial Technologies
Electrical Brothers
+ 5 more
Parts
Access the parts list for your equipment in MaintainX.
Drive Motor
B2 Rollers
Tensioning System
+ 40 more

Hobart Mixer HL300C
Create an account to install this asset package.
Maintenance Plans for Hobart Mixer Model HL300C
Integrate maintenance plans directly into your work orders in MaintainX.
6 Monthly Mixer Lubrication
- Lubricate mixer
WARNING! Disconnect the electrical power to the machine and follow lockout / tagout procedures.
Slideway:
The slideways should be lubricated approximately twice a year. To reach these areas, fully lower the bowl support. Wipe a thin coat of Lubriplate 630AA on the bowl pad area of the bowl supports and on each slideway.
Planetary Seal:
Occasionally, the planetary seal may become dry and begin to squeak. To correct this, work a little lubrication (mineral oil) under the lip of the seal.;
Initial Mixer Check
Power applied to the mixer
SPEED dial pointer set to STIR
Bowl installed and locked into mix position
Bowl Support all the way up and bowl guard closed
Machine run momentarily by pushing the START and then STOP buttons
1 Daily Mixer Cleaning
WARNING! Disconnect the electrical power to the machine and follow lockout / tagout procedures.
Mixer and accessories cleaned with hot water and mild soap solution
Rinsed with either a mild soda or vinegar solution
Thoroughly rinsed with clear water
Mixer thoroughly cleaned daily
Mixer washed with a clean, damp cloth
Ample room for cleaning under the mixer
Drip cup removed and wiped clean periodically
Sign off on the daily mixer cleaning
Agitator Check
- The agitator clearance should be checked periodically. The agitator must not touch the bowl, and the maximum clearance between the bottom of the bowl and the B flat beater is 1/8" (3 mm); the maximum clearance between the bottom of the bowl and the ED dough arm is 5/16" (8 mm).
Install a bowl and agitator (e.g., beater). If the bowl and beater come into contact before the bowl support reaches its stop, adjust the stop screw. Refer to Adjust the Bowl/Agitator Clearance.
- Measure Clearance:
Pour enough flour in the bowl to cover the bottom of the bowl where the beater travels. With the bowl fully raised (beater should not touch the bottom of the bowl), briefly run the mixer at the lowest speed.
Turn off the mixer, disconnect the electrical power supply, and measure the depth of flour where the beater has traced a path. This measurement should be taken at several points around the bowl to assure accuracy.
- Adjust the Bowl/Agitator Clearance:
• Turn the stop screws counterclockwise to decrease the clearance or clockwise to increase the clearance.
• Reconnect the electrical power supply.
• Carefully operate the bowl lift several times to check the adjustment.;
Parts for Hobart Mixer HL300C
Access the parts list for your equipment in MaintainX.
Lubrication oil Lubriplate
630AA
Lubrication oil Lubriplate
630AA
Lubrication oil Lubriplate
630AA
Unlock efficiency
with MaintainX CoPilot
MaintainX CoPilot is your expert colleague, on call 24/7, helping your team find the answers they need to keep equipment running.
Reduce Unplanned Downtime
Ensure your team follows consistent procedures to minimize equipment failures and costly delays.
Maximize Asset Availability
Keep your assets running longer and more reliably, with standardized maintenance workflows from OEM manuals.
Lower Maintenance Costs
Turn any technician into an expert to streamline operations, maintain more assets, and reduce overall costs.
Thousands of companies manage their assets with MaintainX


