


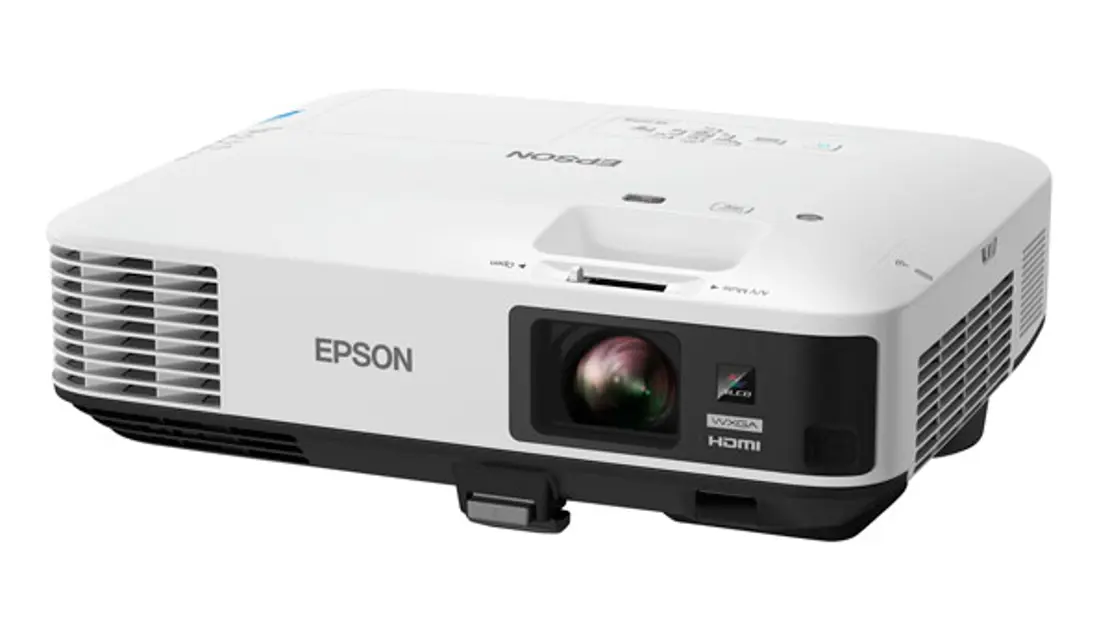
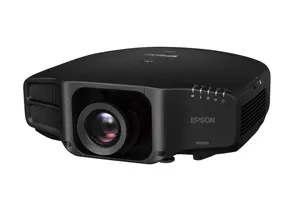
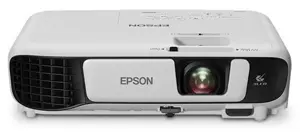
Epson Multimedia Projector 1975W
Need answers fast?
Explore the manual using AI.
Turn manuals into instant answers
with your AI-powered assistantTurn manuals into instant answers
with your AI-powered assistant
Manual for Epson Multimedia Projector 1975W
Complete asset maintenance, one click away
Get instant access to all the maintenance information you need. Empower technicians to perform preventive maintenance with asset packages, ready to use right out of the box.

Documents & Manuals
Find all the essential guides in one place.
 Tensioning Guide
- Belt-diagram
- C-120 pulleys
+ 13 more

Work Order Templates
Pre-built workflows to keep your asset running smoothly.
- Daily Electrical System Inspection
- Replace Roller and Pulley
- Install Engine B-120
+ 29 more

Procedures
Integrate maintenance plans directly into your work orders.
- Motion Industries
- Applied Industrial Technologies
- Electrical Brothers
+ 5 more

Parts
Access the parts list for your equipment in MaintainX.
- Drive Motor
- B2 Rollers
- Tensioning System
+ 40 more
Epson Multimedia Projector 1975W
Create an account to install this asset package.
Maintenance Plans for Epson Multimedia Projector Model 1975W
Integrate maintenance plans directly into your work orders in MaintainX.
Projector Case Cleaning
Warning: Before cleaning any part of the projector, turn it off and unplug the power cord. Never open any cover on the projector, except as specifically explained in this manual. Dangerous electrical voltages in the projector can injure you severely. Do not try to service this product yourself, except as specifically explained in this manual. Refer all other servicing to qualified servicers.
Projector turned off and power cord unplugged
Projector case cleaned with a soft, dry, lint-free cloth
Stubborn dirt removed with a soft cloth moistened with water and mild soap
Caution: Do not use wax, alcohol, benzene, paint thinner, or other chemicals to clean the projector case. These can damage the case. Do not use canned air, or the gases may leave a residue.
Sign off on the projector case cleaning

Lens Cleaning
Warning: Before cleaning any part of the projector, turn it off and unplug the power cord. Never open any cover on the projector, except as specifically explained in this manual. Dangerous electrical voltages in the projector can injure you severely. Do not try to service this product yourself, except as specifically explained in this manual. Refer all other servicing to qualified servicers.
Projector turned off and power cord unplugged
Lens has dust or smudges
To remove dust or smudges, gently wipe the lens with lens-cleaning paper.
Dust or smudges removed
To remove stubborn smudges, moisten a soft, lint-free cloth with lens cleaner and gently wipe the lens. Do not spray any liquid directly on the lens.
Stubborn smudges removed
Warning: Do not use a lens cleaner that contains flammable gas. The high heat generated by the projector lamp may cause a fire. Caution: Do not use glass cleaner or any harsh materials to clean the lens and do not subject the lens to any impacts; you may damage it. Do not use canned air, or the gases may leave a residue. Avoid touching the lens with your bare hands to prevent fingerprints on or damage to the lens surface.
Sign off on the lens cleaning
Lamp Timer Resetting
Warning: Do not reset the lamp timer if you have not replaced the lamp to avoid inaccurate lamp usage information.
Is the projector turned on?
Press the Menu button
Select the Reset menu and press Enter
Select Reset Lamp Hours and press Enter
You see a prompt asking if you want to reset the lamp hours. Do you want to reset?
Select Yes and press Enter
Press Menu or Esc to exit the menus
Sign off on the lamp timer resetting
Lamp Replacement
Warning: Let the lamp fully cool before replacing it to avoid injury.
Projector turned off and power cord unplugged
Projector lamp cooled down for at least one hour
Screw securing the lamp cover loosened
Warning: If the lamp is broken, glass fragments may be loose inside the lamp chamber. Be careful removing any broken glass to avoid injury.
Lamp cover slid out and lifted off
Screws securing the lamp to the projector loosened
Old lamp gently pulled out of the projector
Note: The lamp(s) in this product contain mercury. Please consult your state and local regulations regarding disposal or recycling. Do not put in the trash.
Remote Control Batteries Replacement
Caution: Use only the type of batteries specified in this manual. Do not install batteries of different types, or mix new and old batteries.
Open the battery cover as shown.
Remove the old batteries.
Warning: If the battery fluid has leaked, wipe it away with a soft cloth and avoid getting the fluid on your hands. If it gets on your hands, wash them immediately to avoid injury.
Insert the batteries with the + and – ends facing as shown.
Close the battery cover and press it down until it clicks into place.
Warning: Dispose of used batteries according to local regulations. Do not expose batteries to heat or flame. Keep batteries out of the reach of children; they are choking hazards and are very dangerous if swallowed.
Sign off on the battery replacement procedure
Parts for Epson Multimedia Projector 1975W
Access the parts list for your equipment in MaintainX.
Genuine Epson Replacement Lamp (ELPLP77)
V13H010L77
Air Filter Replacement (ELPAF41)
V13H134A41
Quick Wireless Connection USB Key (ELPAP09; PowerLite 1975W/1985WU)
V12H005M08
Wireless LAN Module (ELPAP07; PowerLite 1975W/1985WU)
V12H418P12
Epson DC-06 Document Camera (ELPDC06)
V12H321005
Genuine Epson Replacement Lamp (ELPLP77)
V13H010L77
Air Filter Replacement (ELPAF41)
V13H134A41
Quick Wireless Connection USB Key (ELPAP09; PowerLite 1975W/1985WU)
V12H005M08
Wireless LAN Module (ELPAP07; PowerLite 1975W/1985WU)
V12H418P12
Epson DC-06 Document Camera (ELPDC06)
V12H321005
Genuine Epson Replacement Lamp (ELPLP77)
V13H010L77
Air Filter Replacement (ELPAF41)
V13H134A41
Quick Wireless Connection USB Key (ELPAP09; PowerLite 1975W/1985WU)
V12H005M08
Wireless LAN Module (ELPAP07; PowerLite 1975W/1985WU)
V12H418P12
Epson DC-06 Document Camera (ELPDC06)
V12H321005
Unlock efficiency
with MaintainX CoPilot
MaintainX CoPilot is your expert colleague, on call 24/7, helping your team find the answers they need to keep equipment running.
Reduce Unplanned Downtime
Ensure your team follows consistent procedures to minimize equipment failures and costly delays.
Maximize Asset Availability
Keep your assets running longer and more reliably, with standardized maintenance workflows from OEM manuals.
Lower Maintenance Costs
Turn any technician into an expert to streamline operations, maintain more assets, and reduce overall costs.
Thousands of companies manage their assets with MaintainX

'%3e%3cpath%20fill='url(%23b)'%20d='M66.008%2080.068c-5.084-.786-9.763-3.834-12.442-8.68a16.942%2016.942%200%200%201-1.87-5.18c1.096.19%202.203.476%203.298.87%206.525%202.333%2010.836%207.68%2011.014%2012.99ZM51.47%2061.576c.488-5.524%203.62-10.716%208.847-13.597a17.132%2017.132%200%200%201%2011.335-1.882c-.798%208.145-7.43%2014.848-16.038%2015.599-1.417.119-2.799.07-4.144-.12Zm28.564-11.478a17.513%2017.513%200%200%201%203.727%204.62c4.608%208.335%201.584%2018.813-6.75%2023.409a16.988%2016.988%200%200%201-4.359%201.679%2019.624%2019.624%200%200%201-3.977-12.776c.346-7.561%204.942-13.931%2011.36-16.932Z'/%3e%3cpath%20fill='%23110F0D'%20fill-rule='evenodd'%20d='M142.831%2048.324h4.977V77.03h-4.977V48.324Zm27.278%2013.002c.322%201.048.453%202.263.453%203.62v12.073h-4.787V66.208c0-.75-.047-1.572-.154-2.143-.453-2.382-1.822-3.572-4.215-3.572-2.31%200-3.882%201.274-4.43%203.476-.143.596-.226%201.405-.226%202.25v10.8h-4.787V56.623h4.477v2.989c1.536-2.5%203.906-3.43%206.371-3.43%203.488%200%206.263%201.68%207.298%205.144Zm24.636%207.323c0%203.882-2.358%206.525-5.763%207.727-1.298.453-2.632.643-4.62.643h-10.169V48.324h9.085c1.691%200%203.156.143%204.049.38%203.465.93%205.727%203.68%205.727%207.335%200%202.441-.81%204.156-2.762%205.644%202.905%201.417%204.453%203.727%204.453%206.966Zm-15.634-8.656h4.584c1.024%200%201.917-.143%202.536-.417%201.215-.548%201.905-1.608%201.905-3.167%200-1.548-.643-2.572-1.845-3.132-.691-.31-1.762-.452-2.763-.452h-4.417v7.168Zm10.716%208.465c0-1.536-.893-3.37-3.227-3.893-.428-.095-1.036-.143-1.571-.143h-5.918v8.085h5.501c.56%200%201.429-.048%201.953-.167%201.94-.453%203.262-1.846%203.262-3.882Zm47.747-11.847-8.097%2020.408h-4.429l-8.109-20.408h5.191l5.192%2014.574%205.108-14.574h5.144Zm-20.218%2010.002c0%20.69-.036%201.262-.155%201.94h-15.943c.631%202.87%202.714%204.728%205.882%204.728%202.131%200%203.607-.882%204.703-2.525h4.87c-1.762%204.144-5.204%206.692-9.657%206.692-6.084%200-10.537-4.858-10.537-10.49%200-6.108%204.524-10.776%2010.335-10.776%206.239%200%2010.442%204.954%2010.502%2010.43Zm-4.763-1.405c-.333-2.846-2.643-4.858-5.691-4.858-2.894%200-5.287%201.929-5.621%204.858h11.312Zm-72.667%203.44c0%204.787-3.287%208.371-9.419%208.371H119.363V64.66c-1.917.274-3.87.69-5.811%201.238l4.537%2011.121h-5.418l-3.596-9.585c-5.144%202.084-10.085%205.216-14.217%209.585h-4.786L101.8%2048.312h4.56l5.68%2013.883a44.112%2044.112%200%200%201%207.323-1.774V48.312h9.084c1.703%200%203.156.143%204.061.393%203.453.929%205.727%203.667%205.727%207.323%200%201.917-.738%204.179-2.81%205.691%203.06%201.56%204.501%204.025%204.501%206.93Zm-15.634-8.667a62.664%2062.664%200%200%201%202.06-.036c1.703.012%203.239.131%204.608.37%201.441-.549%202.357-1.727%202.357-3.537%200-1.941-.881-3.144-2.488-3.667-.548-.18-1.358-.286-2.322-.286h-4.215v7.156Zm-16.55%203.905-3.715-9.894-6.394%2016.502c2.833-2.595%206.263-4.858%2010.109-6.608Zm27.254%204.74c0-2.775-3.131-4.347-8.513-4.418-.715%200-1.441.011-2.191.047v8.252h5.918c2.548%200%204.786-1.37%204.786-3.882Z'%20clip-rule='evenodd'/%3e%3c/g%3e%3cdefs%3e%3clinearGradient%20id='b'%20x1='51.47'%20x2='85.916'%20y1='62.946'%20y2='62.946'%20gradientUnits='userSpaceOnUse'%3e%3cstop%20stop-color='%23CD9F28'/%3e%3cstop%20offset='1'%20stop-color='%23ECD80B'/%3e%3c/linearGradient%3e%3cclipPath%20id='a'%3e%3cpath%20fill='%23fff'%20d='M51.47%2045.728h186.104V80.14H51.47z'/%3e%3c/clipPath%3e%3c/defs%3e%3c/svg%3e)


More from Epson


Explore Other Assets


© 2026 MaintainX. All rights reserved.