


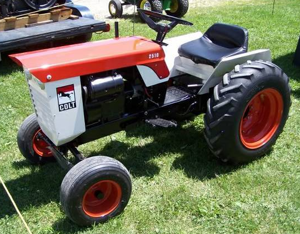
Case Compact Tractor 2510
Need answers fast?
Explore the manual using AI.
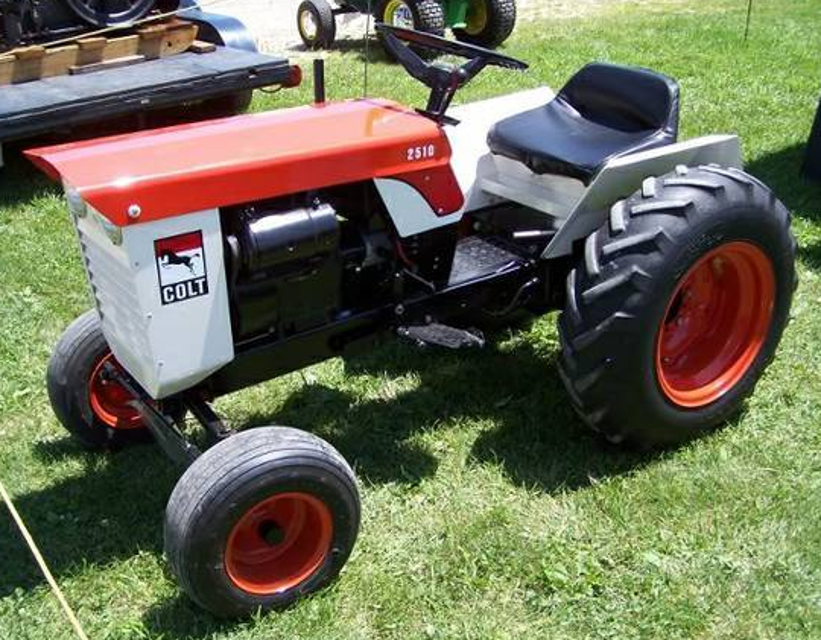
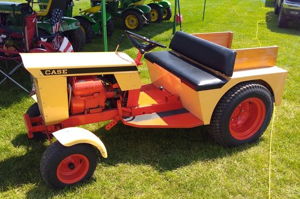
The Case Compact Tractor 2510 is a versatile and reliable piece of equipment designed for various agricultural and landscaping tasks. Known for its durability and efficiency, this compact tractor is ideal for small to medium-sized operations, providing excellent performance in tight spaces.
Turn manuals into instant answers
with your AI-powered assistantTurn manuals into instant answers
with your AI-powered assistant
Manual for Case Compact Tractor 2510
Complete asset maintenance, one click away
Get instant access to all the maintenance information you need. Empower technicians to perform preventive maintenance with asset packages, ready to use right out of the box.

Documents & Manuals
Find all the essential guides in one place.
 Tensioning Guide
- Belt-diagram
- C-120 pulleys
+ 13 more

Work Order Templates
Pre-built workflows to keep your asset running smoothly.
- Daily Electrical System Inspection
- Replace Roller and Pulley
- Install Engine B-120
+ 29 more

Procedures
Integrate maintenance plans directly into your work orders.
- Motion Industries
- Applied Industrial Technologies
- Electrical Brothers
+ 5 more

Parts
Access the parts list for your equipment in MaintainX.
- Drive Motor
- B2 Rollers
- Tensioning System
+ 40 more
Case Compact Tractor 2510
Create an account to install this asset package.
Maintenance Plans for Case Compact Tractor Model 2510
Integrate maintenance plans directly into your work orders in MaintainX.
Battery Cranking Voltage Test
NOTE: On Spark Ignition engines remove the center coil wire to prevent engine from starting
Connect a volt meter (12 volt) between the positive and negative terminals of the battery
Crank the engine for 15 seconds and record voltage
Connect voltmeter (12 volt) between the starter generator 'A' terminal and ground on starter generator frame
Crank the engine and record voltage
If voltage is not the same or varies more than .5 volt, check the battery cables, clean and tighten connections
Sign off on the battery cranking voltage test

Generator Output Check
Ensure the drive belt is adjusted properly.
Disconnect all cables and wires to generator.
Connect ammeter and variable resistance in series between the 'A' terminal and generator frame.
Connect voltmeter from the 'A' terminal to the frame.
Install jumper lead from the 'F' terminal to the frame, Figure F-9.
Drive the unit at specified RPM.
Adjust to specified voltage by varying the resistance.
Is the ammeter reading lower than specified amperage?
If amperage output is too high, disconnect the jumper lead from the field 'F' terminal.
Starter-Generator Drive Belt Adjustment
Warning: This procedure requires trained personnel with PPE!
IMPORTANT: Under no circumstances should a pry bar be used on the starter - generator to obtain belt tension, as damage to the bearings could result.
Enter the hours of operation
Is the belt tension correct? (The belt can be depressed 1/4\ (finger pressure) between the pulleys)"
Upload a photo of the belt
Sign off on the belt adjustment
Battery Bench Load Test
Warning: This procedure should be performed by trained personnel only
Initial volt meter reading
Amp hour rating of the battery
Volt meter reading after 15 seconds
Is the volt meter reading less than 9.5 volts?
Battery needs replacement?
Sign off on the battery bench load test
Specific Gravity Check
Warning: This procedure requires trained personnel with PPE!
Enter the specific gravity reading from the hydrometer
Enter the temperature of the solution
If the temperature is above or below 80°F, adjust the specific gravity reading by adding or subtracting .004 gravity points for every 10° difference.
Does the adjusted specific gravity reading fall within the acceptable range?
If the specific gravity readings between the cells show a variation of .025, the battery should be replaced.
Enter the battery terminal voltage while charging
If the battery terminal voltage exceeds 15.5 volts while charging, reduce the charging rate.
Enter the battery temperature while charging
Unlock efficiency
with MaintainX CoPilot
MaintainX CoPilot is your expert colleague, on call 24/7, helping your team find the answers they need to keep equipment running.
Reduce Unplanned Downtime
Ensure your team follows consistent procedures to minimize equipment failures and costly delays.
Maximize Asset Availability
Keep your assets running longer and more reliably, with standardized maintenance workflows from OEM manuals.
Lower Maintenance Costs
Turn any technician into an expert to streamline operations, maintain more assets, and reduce overall costs.
Thousands of companies manage their assets with MaintainX

'%3e%3cpath%20fill='url(%23b)'%20d='M66.008%2080.068c-5.084-.786-9.763-3.834-12.442-8.68a16.942%2016.942%200%200%201-1.87-5.18c1.096.19%202.203.476%203.298.87%206.525%202.333%2010.836%207.68%2011.014%2012.99ZM51.47%2061.576c.488-5.524%203.62-10.716%208.847-13.597a17.132%2017.132%200%200%201%2011.335-1.882c-.798%208.145-7.43%2014.848-16.038%2015.599-1.417.119-2.799.07-4.144-.12Zm28.564-11.478a17.513%2017.513%200%200%201%203.727%204.62c4.608%208.335%201.584%2018.813-6.75%2023.409a16.988%2016.988%200%200%201-4.359%201.679%2019.624%2019.624%200%200%201-3.977-12.776c.346-7.561%204.942-13.931%2011.36-16.932Z'/%3e%3cpath%20fill='%23110F0D'%20fill-rule='evenodd'%20d='M142.831%2048.324h4.977V77.03h-4.977V48.324Zm27.278%2013.002c.322%201.048.453%202.263.453%203.62v12.073h-4.787V66.208c0-.75-.047-1.572-.154-2.143-.453-2.382-1.822-3.572-4.215-3.572-2.31%200-3.882%201.274-4.43%203.476-.143.596-.226%201.405-.226%202.25v10.8h-4.787V56.623h4.477v2.989c1.536-2.5%203.906-3.43%206.371-3.43%203.488%200%206.263%201.68%207.298%205.144Zm24.636%207.323c0%203.882-2.358%206.525-5.763%207.727-1.298.453-2.632.643-4.62.643h-10.169V48.324h9.085c1.691%200%203.156.143%204.049.38%203.465.93%205.727%203.68%205.727%207.335%200%202.441-.81%204.156-2.762%205.644%202.905%201.417%204.453%203.727%204.453%206.966Zm-15.634-8.656h4.584c1.024%200%201.917-.143%202.536-.417%201.215-.548%201.905-1.608%201.905-3.167%200-1.548-.643-2.572-1.845-3.132-.691-.31-1.762-.452-2.763-.452h-4.417v7.168Zm10.716%208.465c0-1.536-.893-3.37-3.227-3.893-.428-.095-1.036-.143-1.571-.143h-5.918v8.085h5.501c.56%200%201.429-.048%201.953-.167%201.94-.453%203.262-1.846%203.262-3.882Zm47.747-11.847-8.097%2020.408h-4.429l-8.109-20.408h5.191l5.192%2014.574%205.108-14.574h5.144Zm-20.218%2010.002c0%20.69-.036%201.262-.155%201.94h-15.943c.631%202.87%202.714%204.728%205.882%204.728%202.131%200%203.607-.882%204.703-2.525h4.87c-1.762%204.144-5.204%206.692-9.657%206.692-6.084%200-10.537-4.858-10.537-10.49%200-6.108%204.524-10.776%2010.335-10.776%206.239%200%2010.442%204.954%2010.502%2010.43Zm-4.763-1.405c-.333-2.846-2.643-4.858-5.691-4.858-2.894%200-5.287%201.929-5.621%204.858h11.312Zm-72.667%203.44c0%204.787-3.287%208.371-9.419%208.371H119.363V64.66c-1.917.274-3.87.69-5.811%201.238l4.537%2011.121h-5.418l-3.596-9.585c-5.144%202.084-10.085%205.216-14.217%209.585h-4.786L101.8%2048.312h4.56l5.68%2013.883a44.112%2044.112%200%200%201%207.323-1.774V48.312h9.084c1.703%200%203.156.143%204.061.393%203.453.929%205.727%203.667%205.727%207.323%200%201.917-.738%204.179-2.81%205.691%203.06%201.56%204.501%204.025%204.501%206.93Zm-15.634-8.667a62.664%2062.664%200%200%201%202.06-.036c1.703.012%203.239.131%204.608.37%201.441-.549%202.357-1.727%202.357-3.537%200-1.941-.881-3.144-2.488-3.667-.548-.18-1.358-.286-2.322-.286h-4.215v7.156Zm-16.55%203.905-3.715-9.894-6.394%2016.502c2.833-2.595%206.263-4.858%2010.109-6.608Zm27.254%204.74c0-2.775-3.131-4.347-8.513-4.418-.715%200-1.441.011-2.191.047v8.252h5.918c2.548%200%204.786-1.37%204.786-3.882Z'%20clip-rule='evenodd'/%3e%3c/g%3e%3cdefs%3e%3clinearGradient%20id='b'%20x1='51.47'%20x2='85.916'%20y1='62.946'%20y2='62.946'%20gradientUnits='userSpaceOnUse'%3e%3cstop%20stop-color='%23CD9F28'/%3e%3cstop%20offset='1'%20stop-color='%23ECD80B'/%3e%3c/linearGradient%3e%3cclipPath%20id='a'%3e%3cpath%20fill='%23fff'%20d='M51.47%2045.728h186.104V80.14H51.47z'/%3e%3c/clipPath%3e%3c/defs%3e%3c/svg%3e)


More from Case


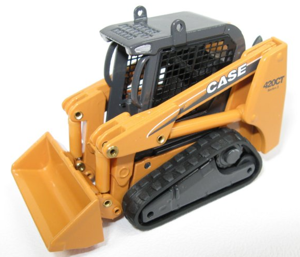


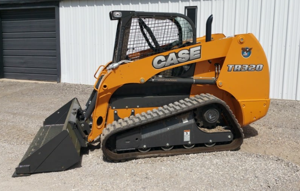

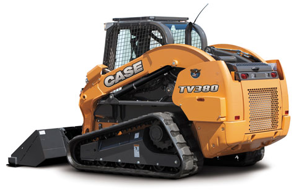


Explore Other Assets


© 2026 MaintainX. All rights reserved.