Clean Grill Daily Maintenance
The Clean Grill Daily Maintenance Form helps in lessening the chance that contaminants will get into cooked food, possibly causing disease or illness. Consistent cleaning also improves the taste of food, since it reduces the likelihood that flavors will transfer from one menu item to another.
Clean Grill Daily Maintenance
32 steps
The Clean Grill Daily Maintenance Form helps in lessening the chance that contaminants will get into cooked food, possibly causing disease or illness. Consistent cleaning also improves the taste of food, since it reduces the likelihood that flavors will transfer from one menu item to another.
Clean grill GR 6 D1
To maintain food quality standards
Time required
Time of day
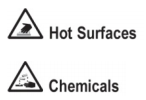
Hazard icons
Tools and supplies
Procedure
Set grill control to clean settings.
Tip
Clean grills one at a time so you can continue cooking on one grill while you are cleaning the other. Let the first grill return to proper cooking temperatures before you begin to clean the second grill.
Tip
Pressing the green button will lower or raise the upper platen of the grill.
Moving Parts
Notice: Keep grill/platen area clear.
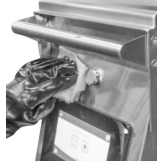
Put on heat -resistance gloves.
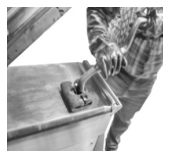
Empty grease troughs
Tip
Follow your restaurant's policy if you are emptying grease troughs after dark.
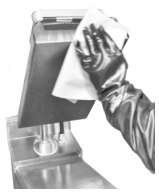
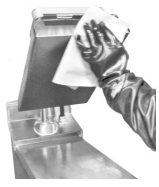
Wipe down platens.
Repeat the wiping for all upper and lower platens.
Repeat the cleaning for all release sheets.
The upper platen surface and edges are extremely hot.
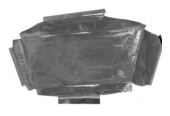
Rinse the release sheet.
Wipe until the grill cleaner residue has been fully removed. This is now the clean side of the release sheet .
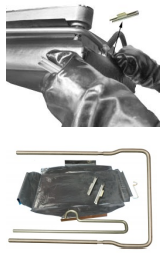
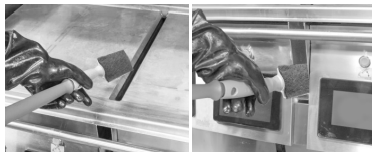
Clean locking clips and bars.
McD’s approved sink detergent solution and Sanitizer solution.
Lay out release sheets to clean the other side.
DO NOT clean the sheets in the 3 -compartment sink. Rinse with a separate, clean sanitizer -soaked grill cloth.
Scrape grill.
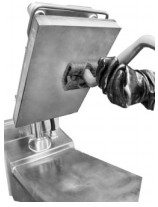
Apply cleaner to platen.
Make sure to cover the entire platen surface and the back, front, and side edges of the platen.
Do not scrub the platen while applying the grill cleaner.
Lower the platen.
Keep hands & tools clear from the grill.
Lightly scrub platen.
For stubborn soils, apply additional grill cleaner and lightly scrub.
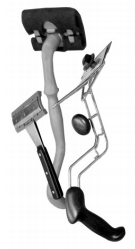
Use the hi -temp tool brush or the double sided grill brush as needed to remove heavy buildup from the upper platens.
Tip
The grill cleaner liquefies soils, making them easy to remove. Hard scrubbing is not necessary.
Do not rinse the platen at this time.
Raise the platen.
Keep hands & tools clear from the grill.
Apply cleaner to grill surface.
Do not scrub the grill while applying the grill cleaner.
Lightly scrub grill surface.
For stubborn soils, apply additional grill cleaner and lightly scrub.
Do not rinse the grill at this time.
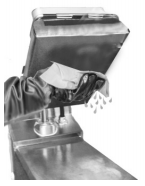
Rinse and wipe down platen.
Rinse grill surface.
Remove and empty grease troughs.
For other grills, move onto step 19 and put grease troughs back into position after emptying.
Scrub trough channel for single chassis grills.
Rinse trough channel for single chassis grills.
Discard the pad into the soiled towel bucket. Put grease troughs back into position after they have been emptied.
Rinse grill surface, again.
Reinstall release sheets.
Main power switch located under the controllers. Green lights indicates the Grill power is “ON”.
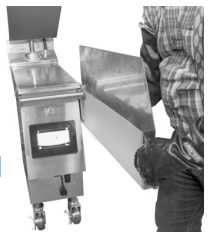
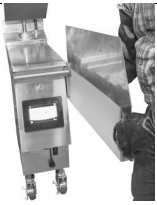
Clean around/under grill.
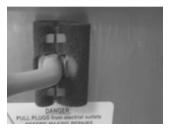
Important: Power switch to the “OFF” position before moving the grill to clean behind.
Follow your restaurant's policy if you are emptying grease troughs after dark.
Clean all grill utensils and tools.