Peeler Preventative Maintenance
Preventive maintenance is the act of performing regularly scheduled maintenance activities to help prevent unexpected failures in the future.
Peeler Preventative Maintenance
This procedure details the preventative maintenance steps for the peeler machines to ensure safe, efficient, and reliable operation. It covers greasing bearings and fittings, checking bolts, inspecting for wear or damage, testing safety devices, and servicing key components like jaws, rollers, and dust collectors. Regular execution of this PM helps prevent breakdowns, extend equipment life, and maintain safe working conditions.
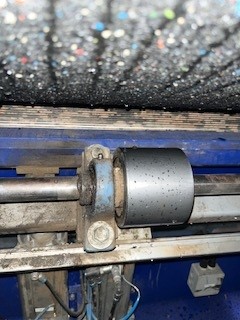
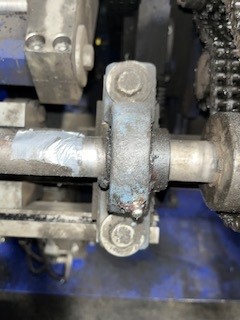
Grease 3 Trim Bar Fittings on the 3 bearing blocks. Wipe-off excess grease.
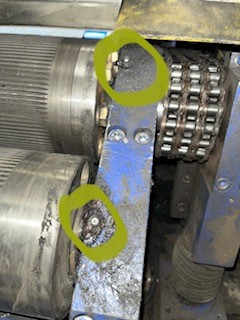
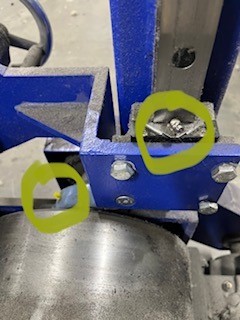
Confirm no loose bolts anywhere on peeler
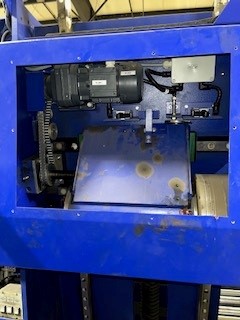
Add some pics
Visually inspect for any damage to the machine from log and/or forklift impact
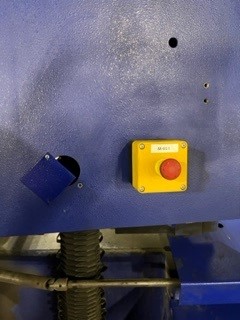
Visually inspect door interlock and all 3 light curtains are operational
Visually inspect cranes for hook wear and any broken wires
If more than one wire strand is broken or hook integrity is compromised remove from service
Remove and check top jaw wear is no more than 0.025" from tip to blade stop
On every 3rd top jaw replacement, replace the bottom jaw
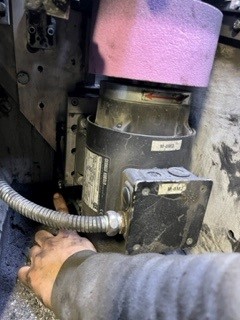
Check grinding motors with hands to ensure they are not loose (no wobble)
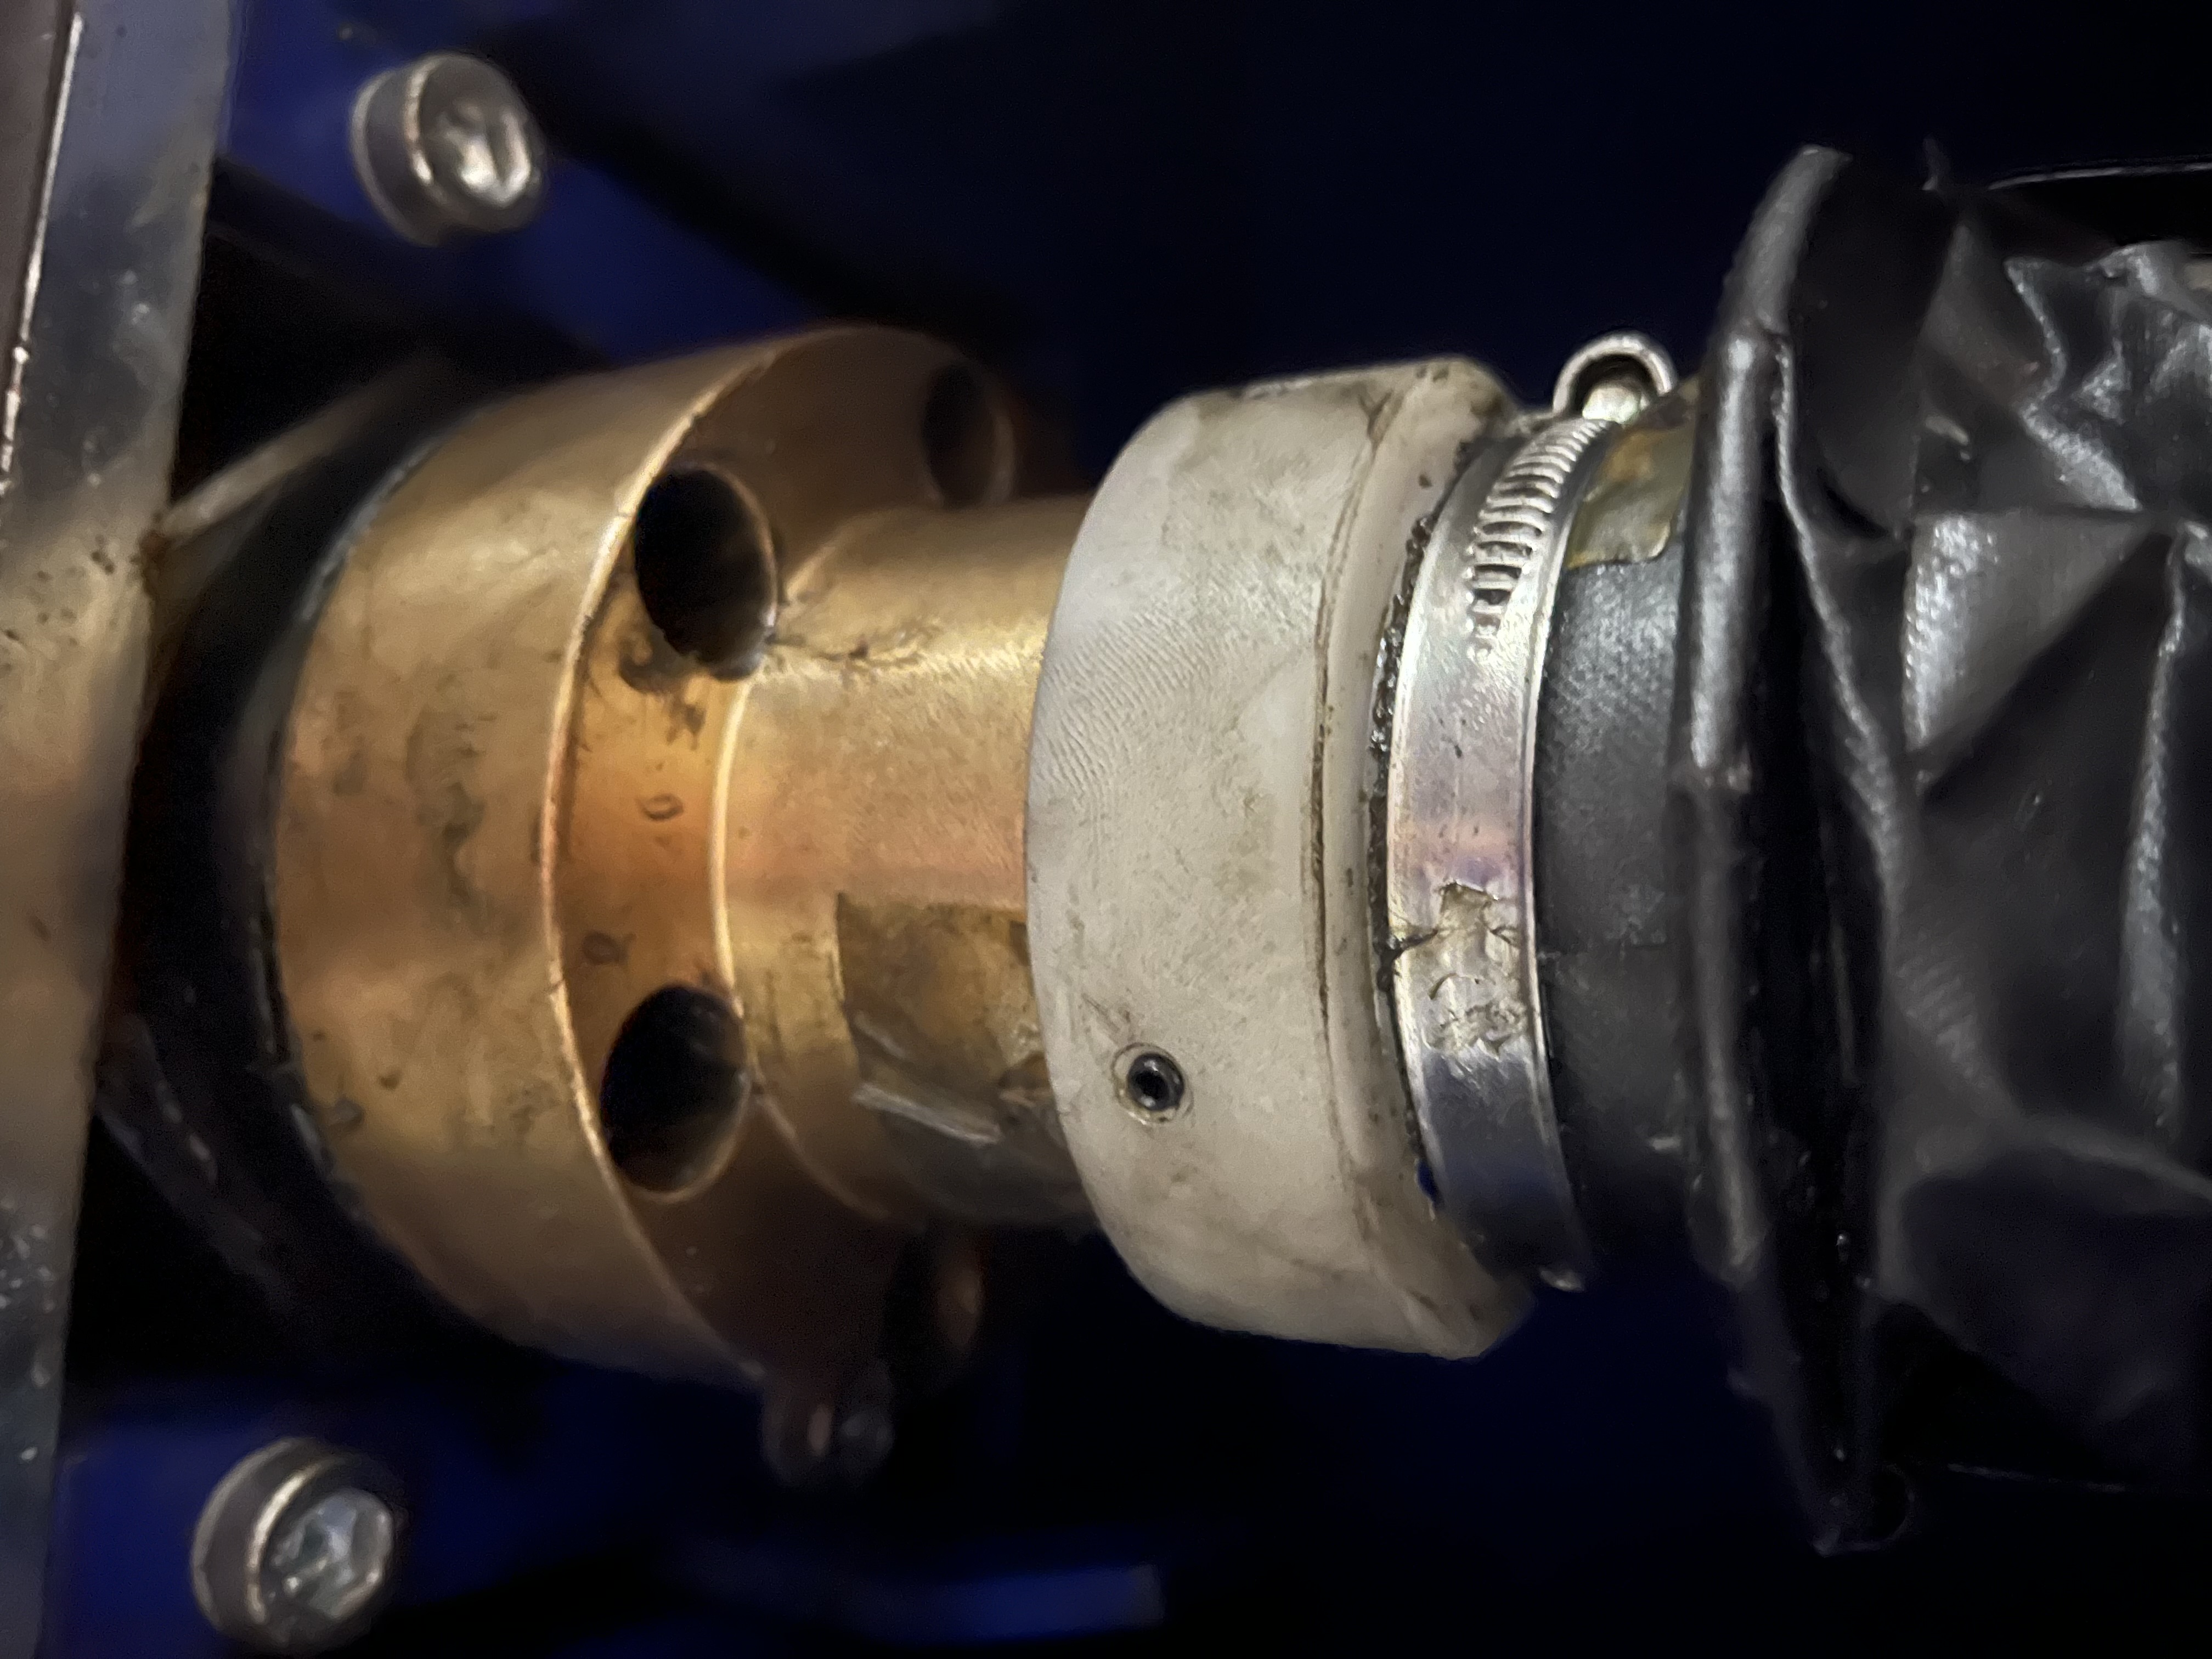
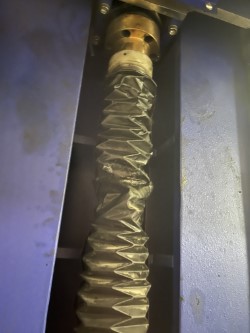
Grease Ball Screw Fittings by lowering arms to bottom
Fitting inside covered hole. Grease both sides.
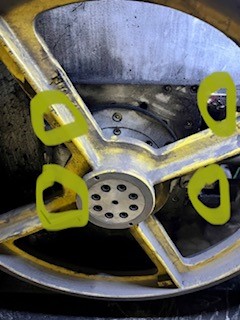
Grease Operator Side Drive Wheel in 4 Places
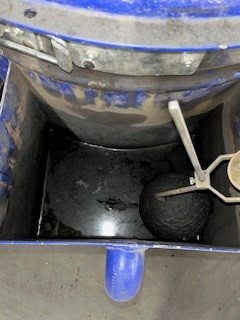
Confirm Dust Collector has water in bottom reservoir above minimum level
Grease 2 Fittings on Each Grinding Motor. Total 8 Fittings
1 Fitting on Each Side of the Motor
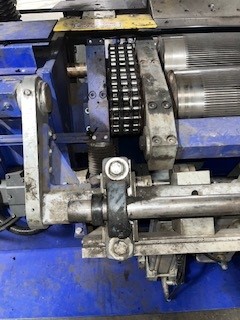
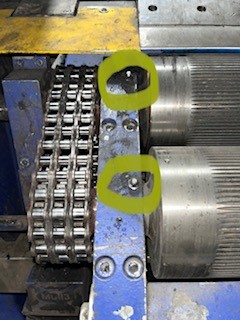
Drive Roller Bearings Grease in 2 Places per Side. 4 Fittings Total
Grease Fittings at Rewind Stand - 8 Total
There is 1 fitting per rewind roller and 1 fitting per slide but not all are reachable until the fitting is moved to be accessible. Grease all accessible fittings.
Visually inspect spreader beam for cracked welds, loose bolts, and cracked pins
Grease 3 Fittings per Side at Log Attachment Arms
Check bolts on both vertical arms to confirm tight. If loose or missing will cause race tracking
Check bolts on both blade wheels to ensure tight
For a bottom jaw adjustment: Use 2 set screws on either side of locking screw. You adjust them so the jaw stays flat/square to the knife and adjust the gap to 0.05mm greater than the blade thickness. Start from center and working out to the ends of the jaw until complete.
Check bolts that support the upper A-frame to ensure tight.
Home blade, disconnect back-up connecting rod and remove carbide back-ups to inspect for cracks or excess wear. Replace or flip as needed. Hand adjust back-ups to slightly touch blade. Then reconnect the connecting rods.
Remove Mandrel cap to inspect/clean fingers and grease them
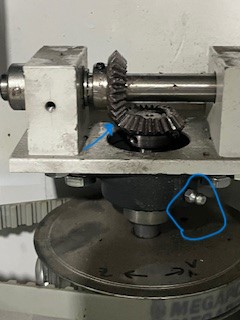
Grease Fitting & Check Gear Alignment
Source: New River Tire Recycling (Community Member)

